
No credit card required. Free, limited license.
 Trusted by Governments, Orgs, Telco's MSP's & CSP's
From automated task management, centralized billing, streamlined HR and enhanced security, our platform allows you to focus on growing your business instead of performing manual work.


“MSPControl allows us to provide better client service while increasing profitability.”
![]() Secure your environments
Secure your environments
![]() Streamline billing, HR and more
Streamline billing, HR and more
Increase productivity and unlock new revenue streams.
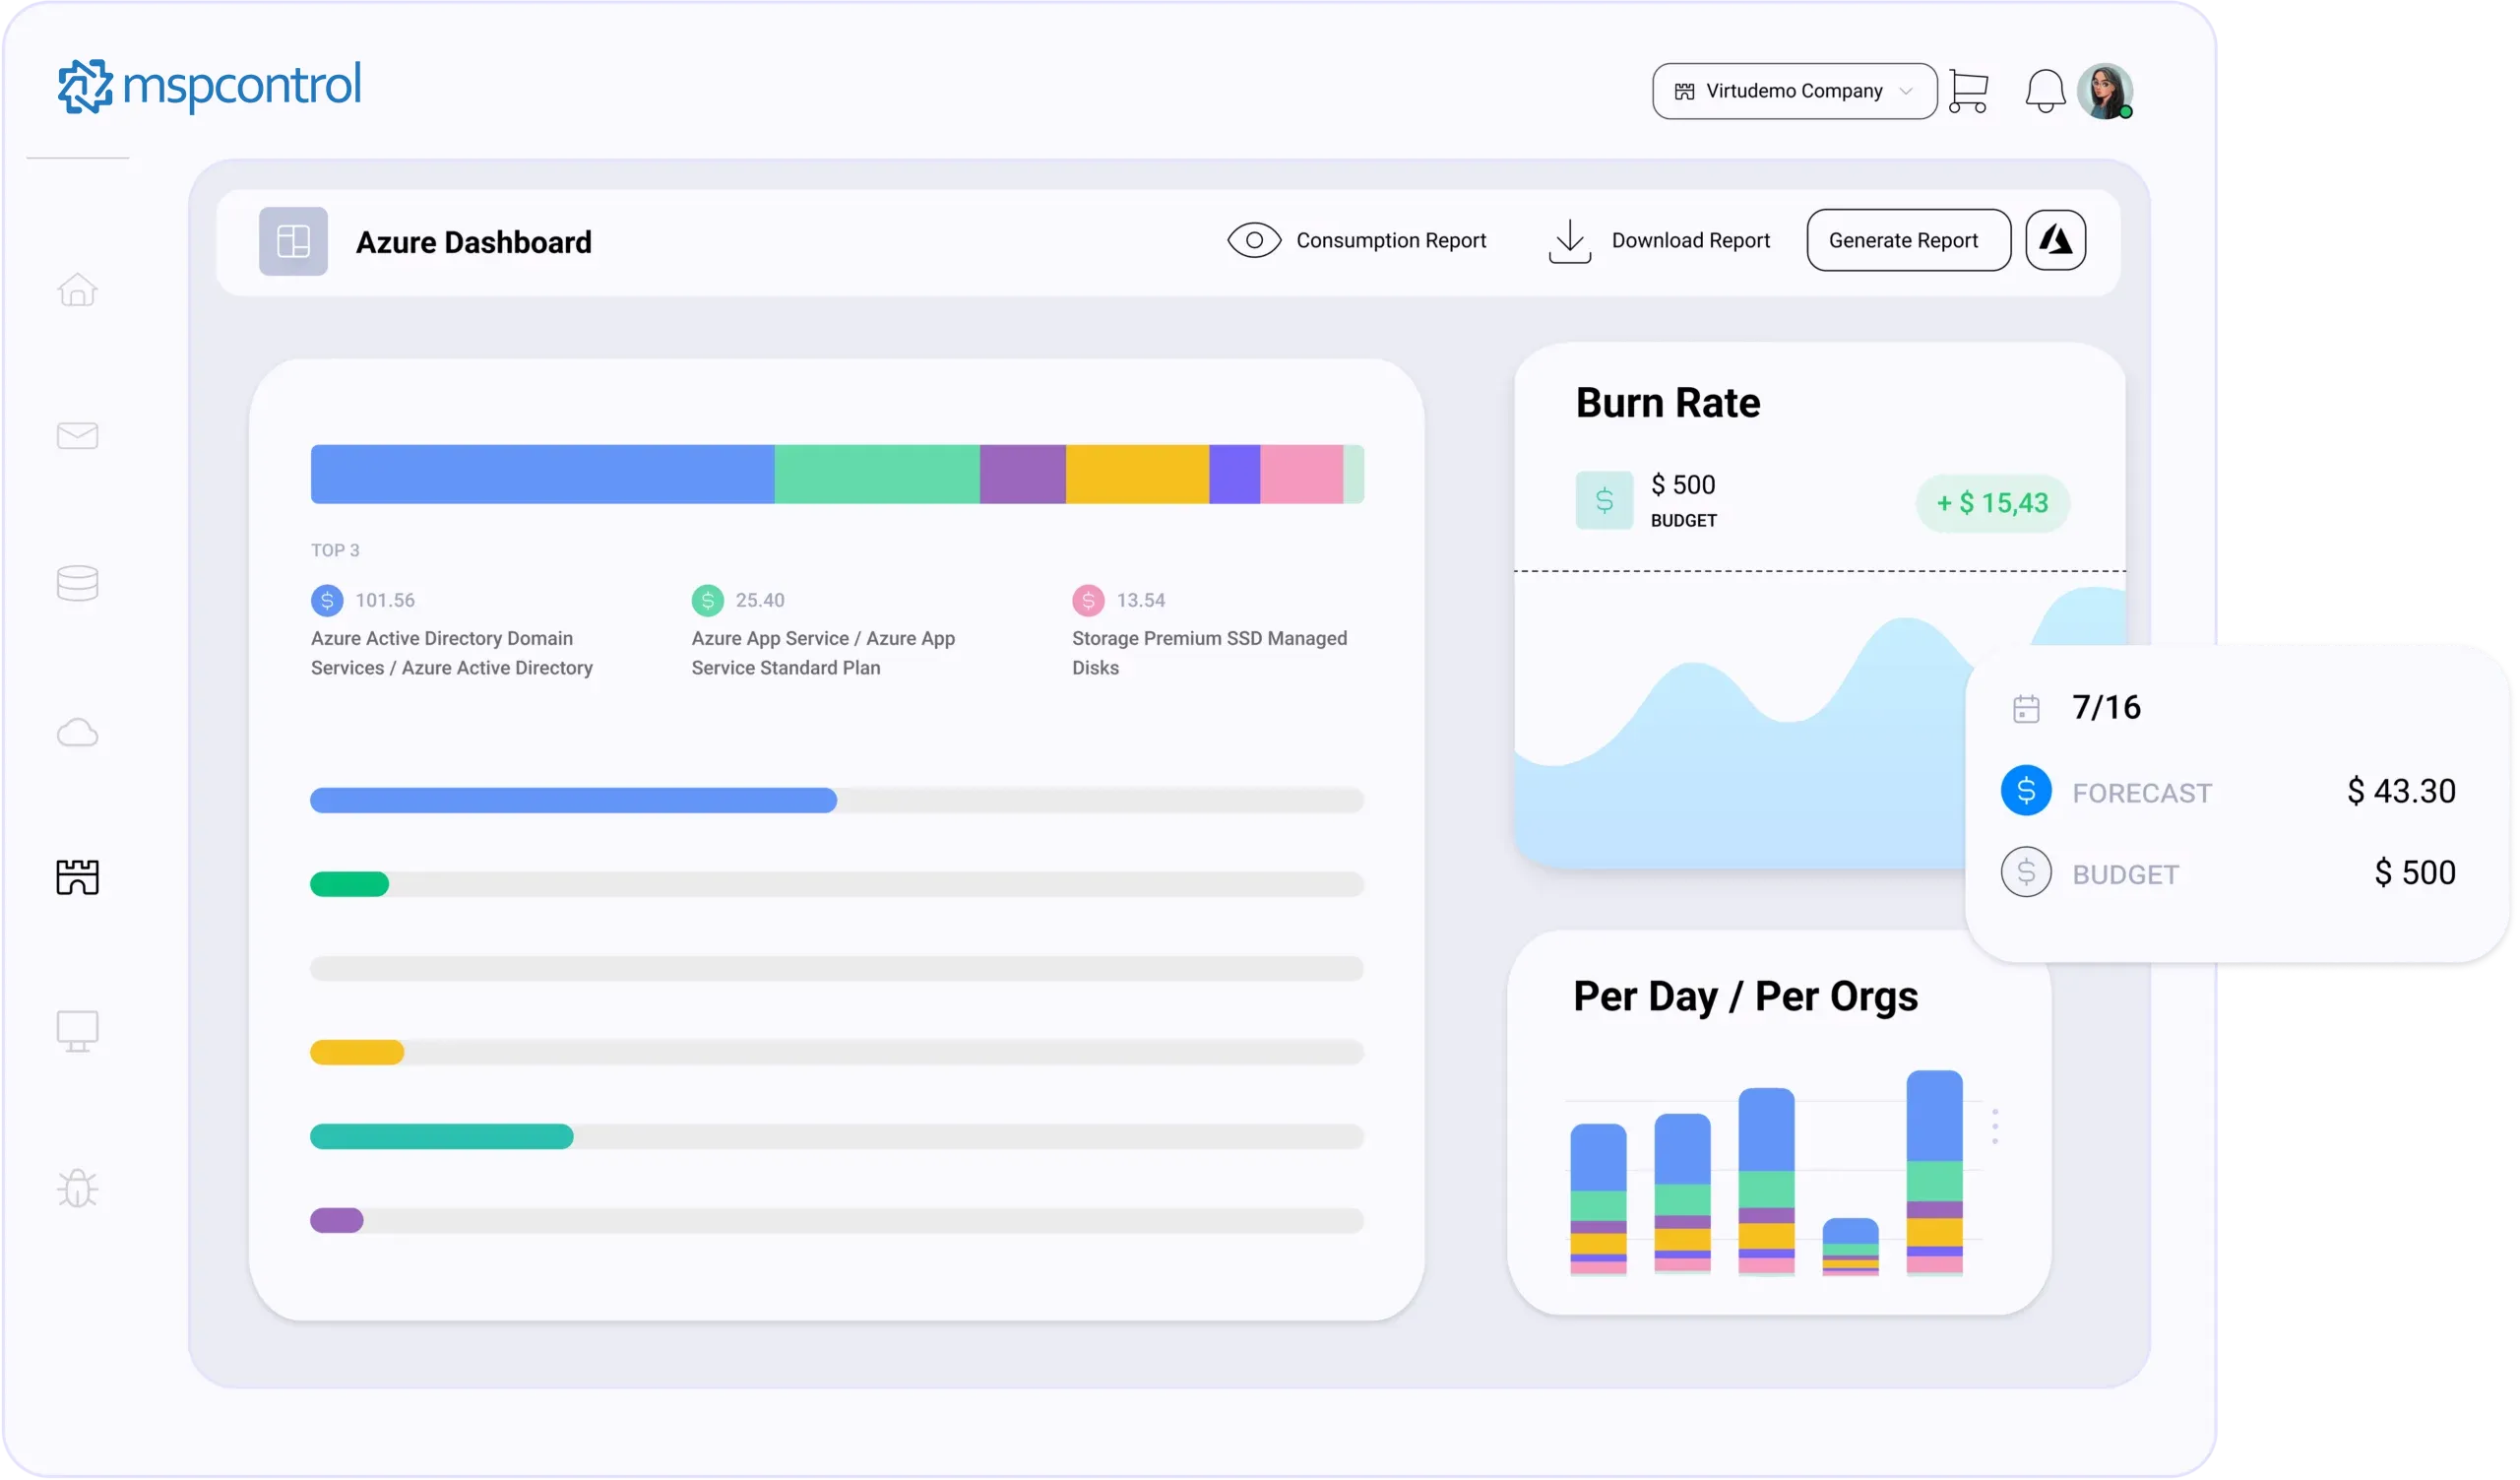
Provision and manage Office 365, simplify Azure administration, and gain real-time insights into tenant spending with MSPControl's centralized dashboard. Password resets, user synchronization, and detailed spending reports empower you to deliver exceptional cloud services to your clients.
Learn More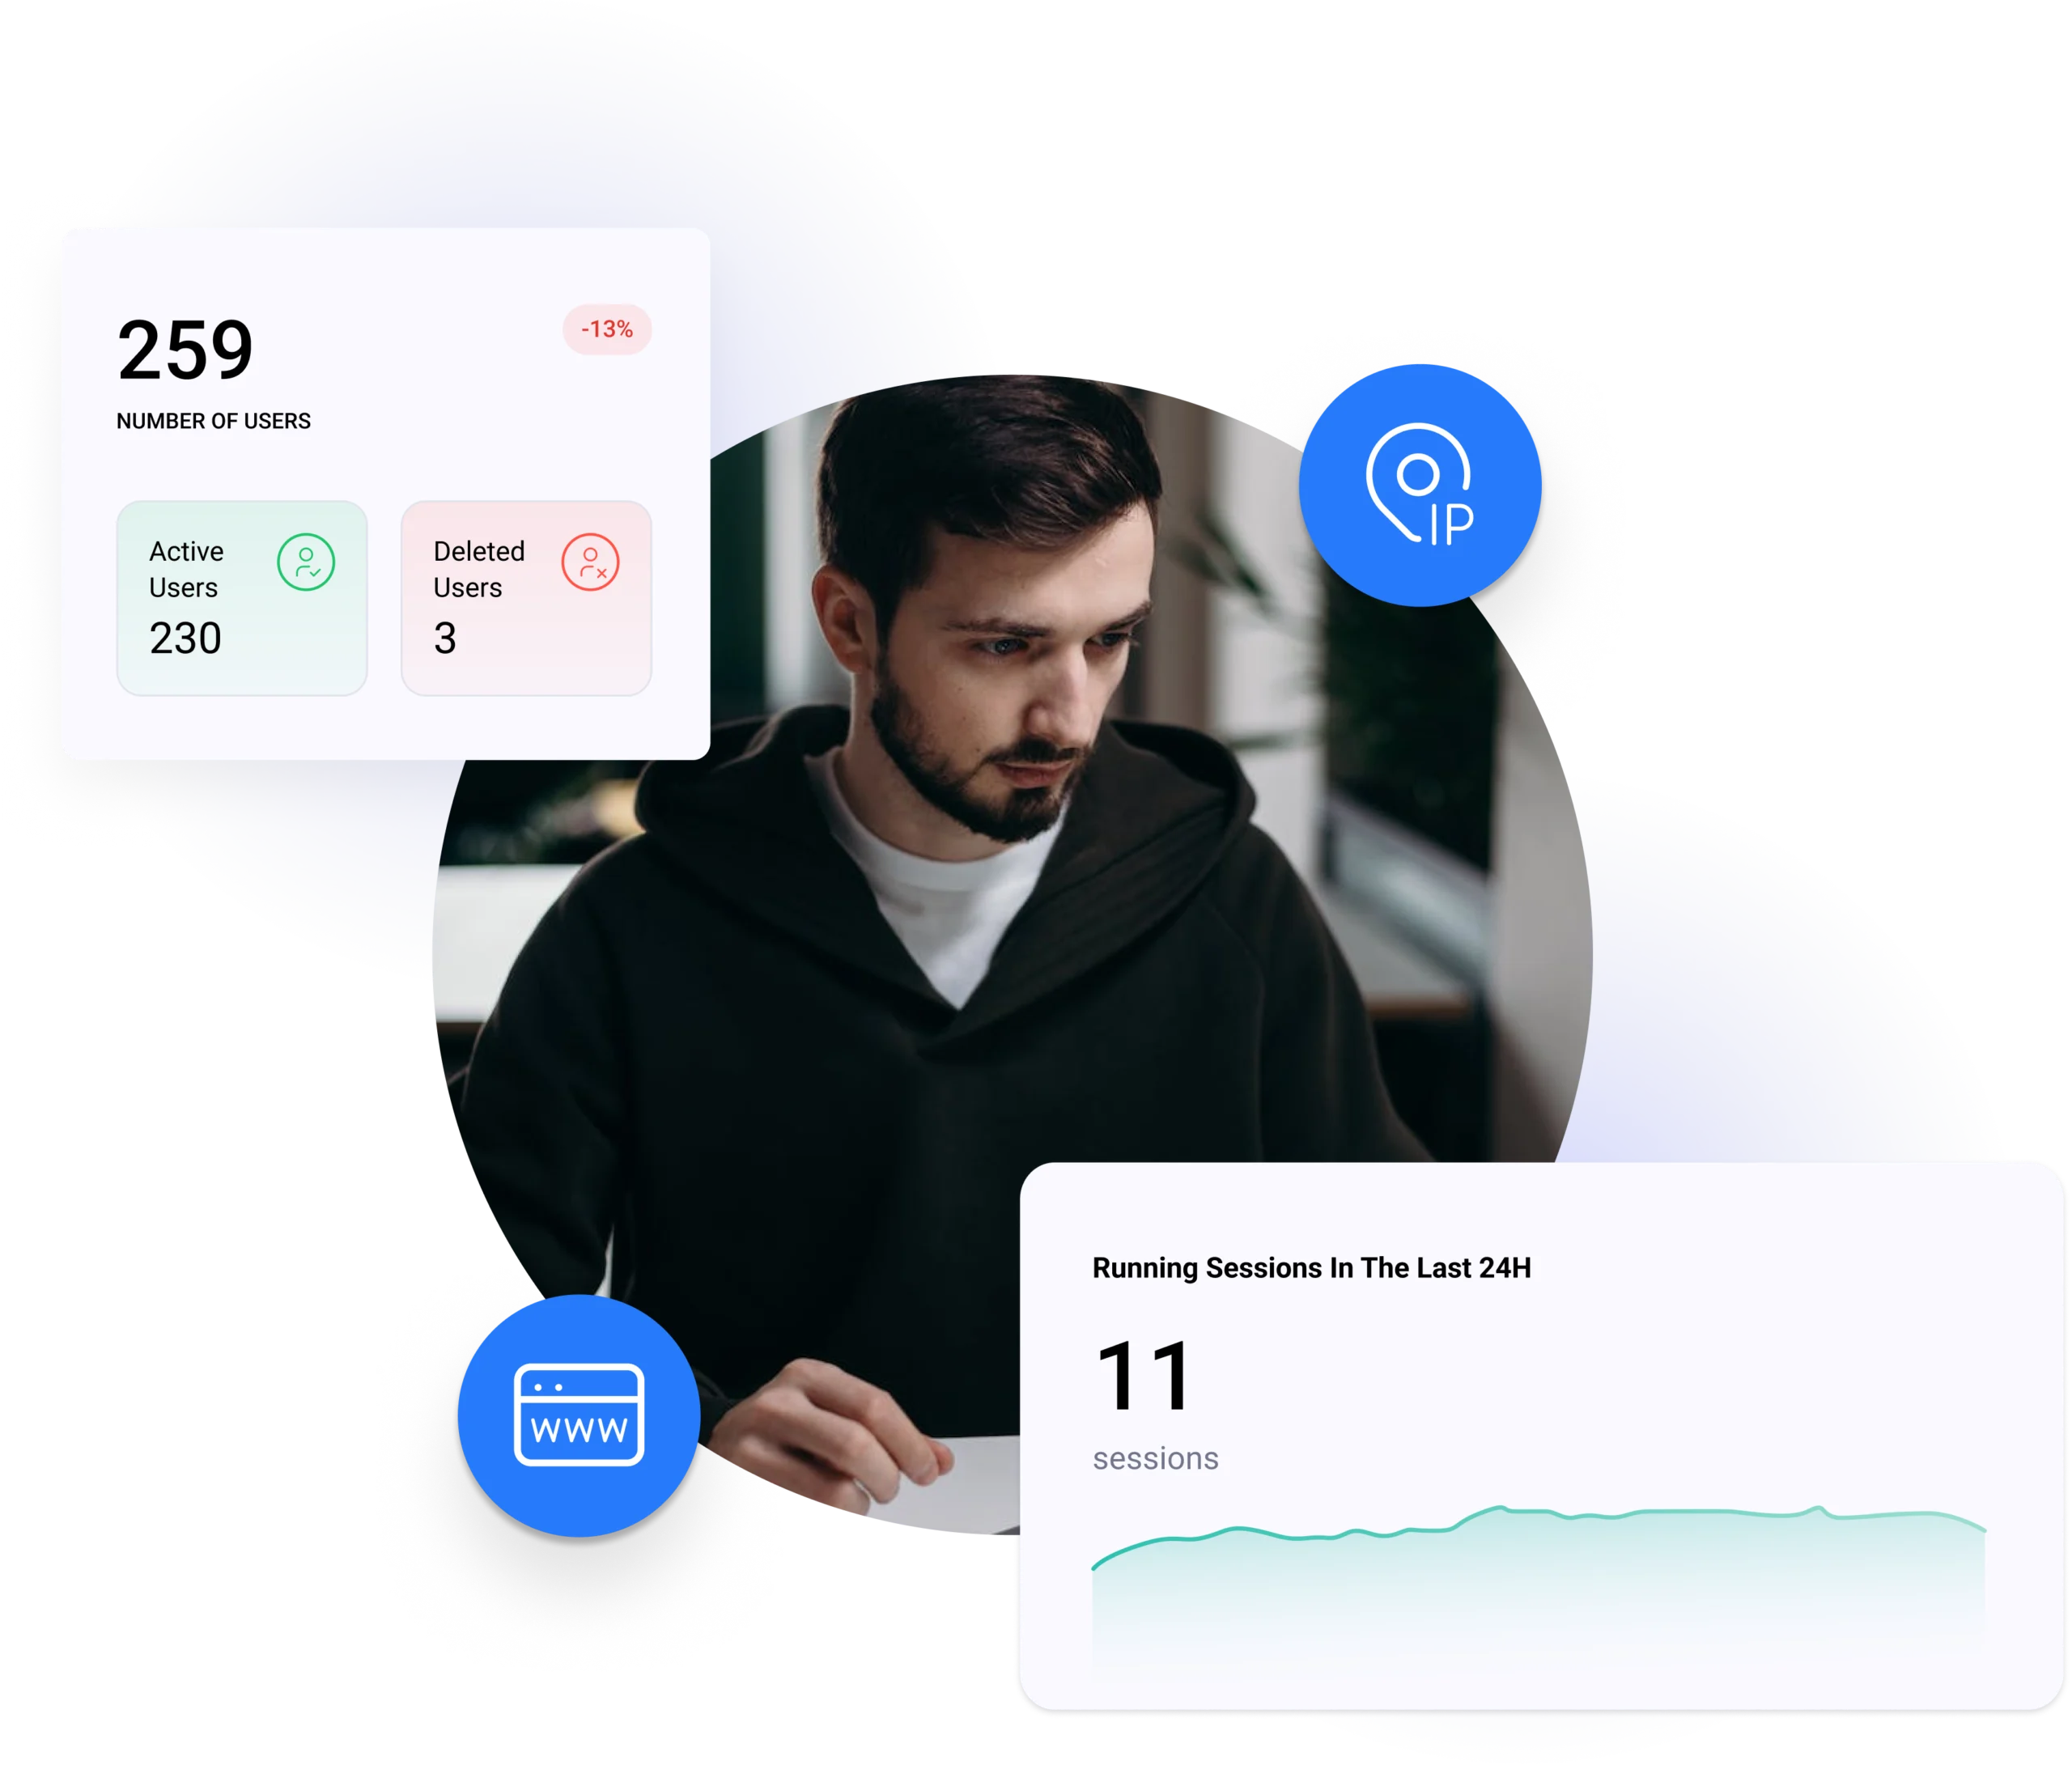
Take complete control of your clients' IT infrastructure. Deploy and manage agents remotely, ensuring device security with automated policies. Gain real-time insights into device health and troubleshoot issues efficiently – all from a single, unified dashboard.
Learn More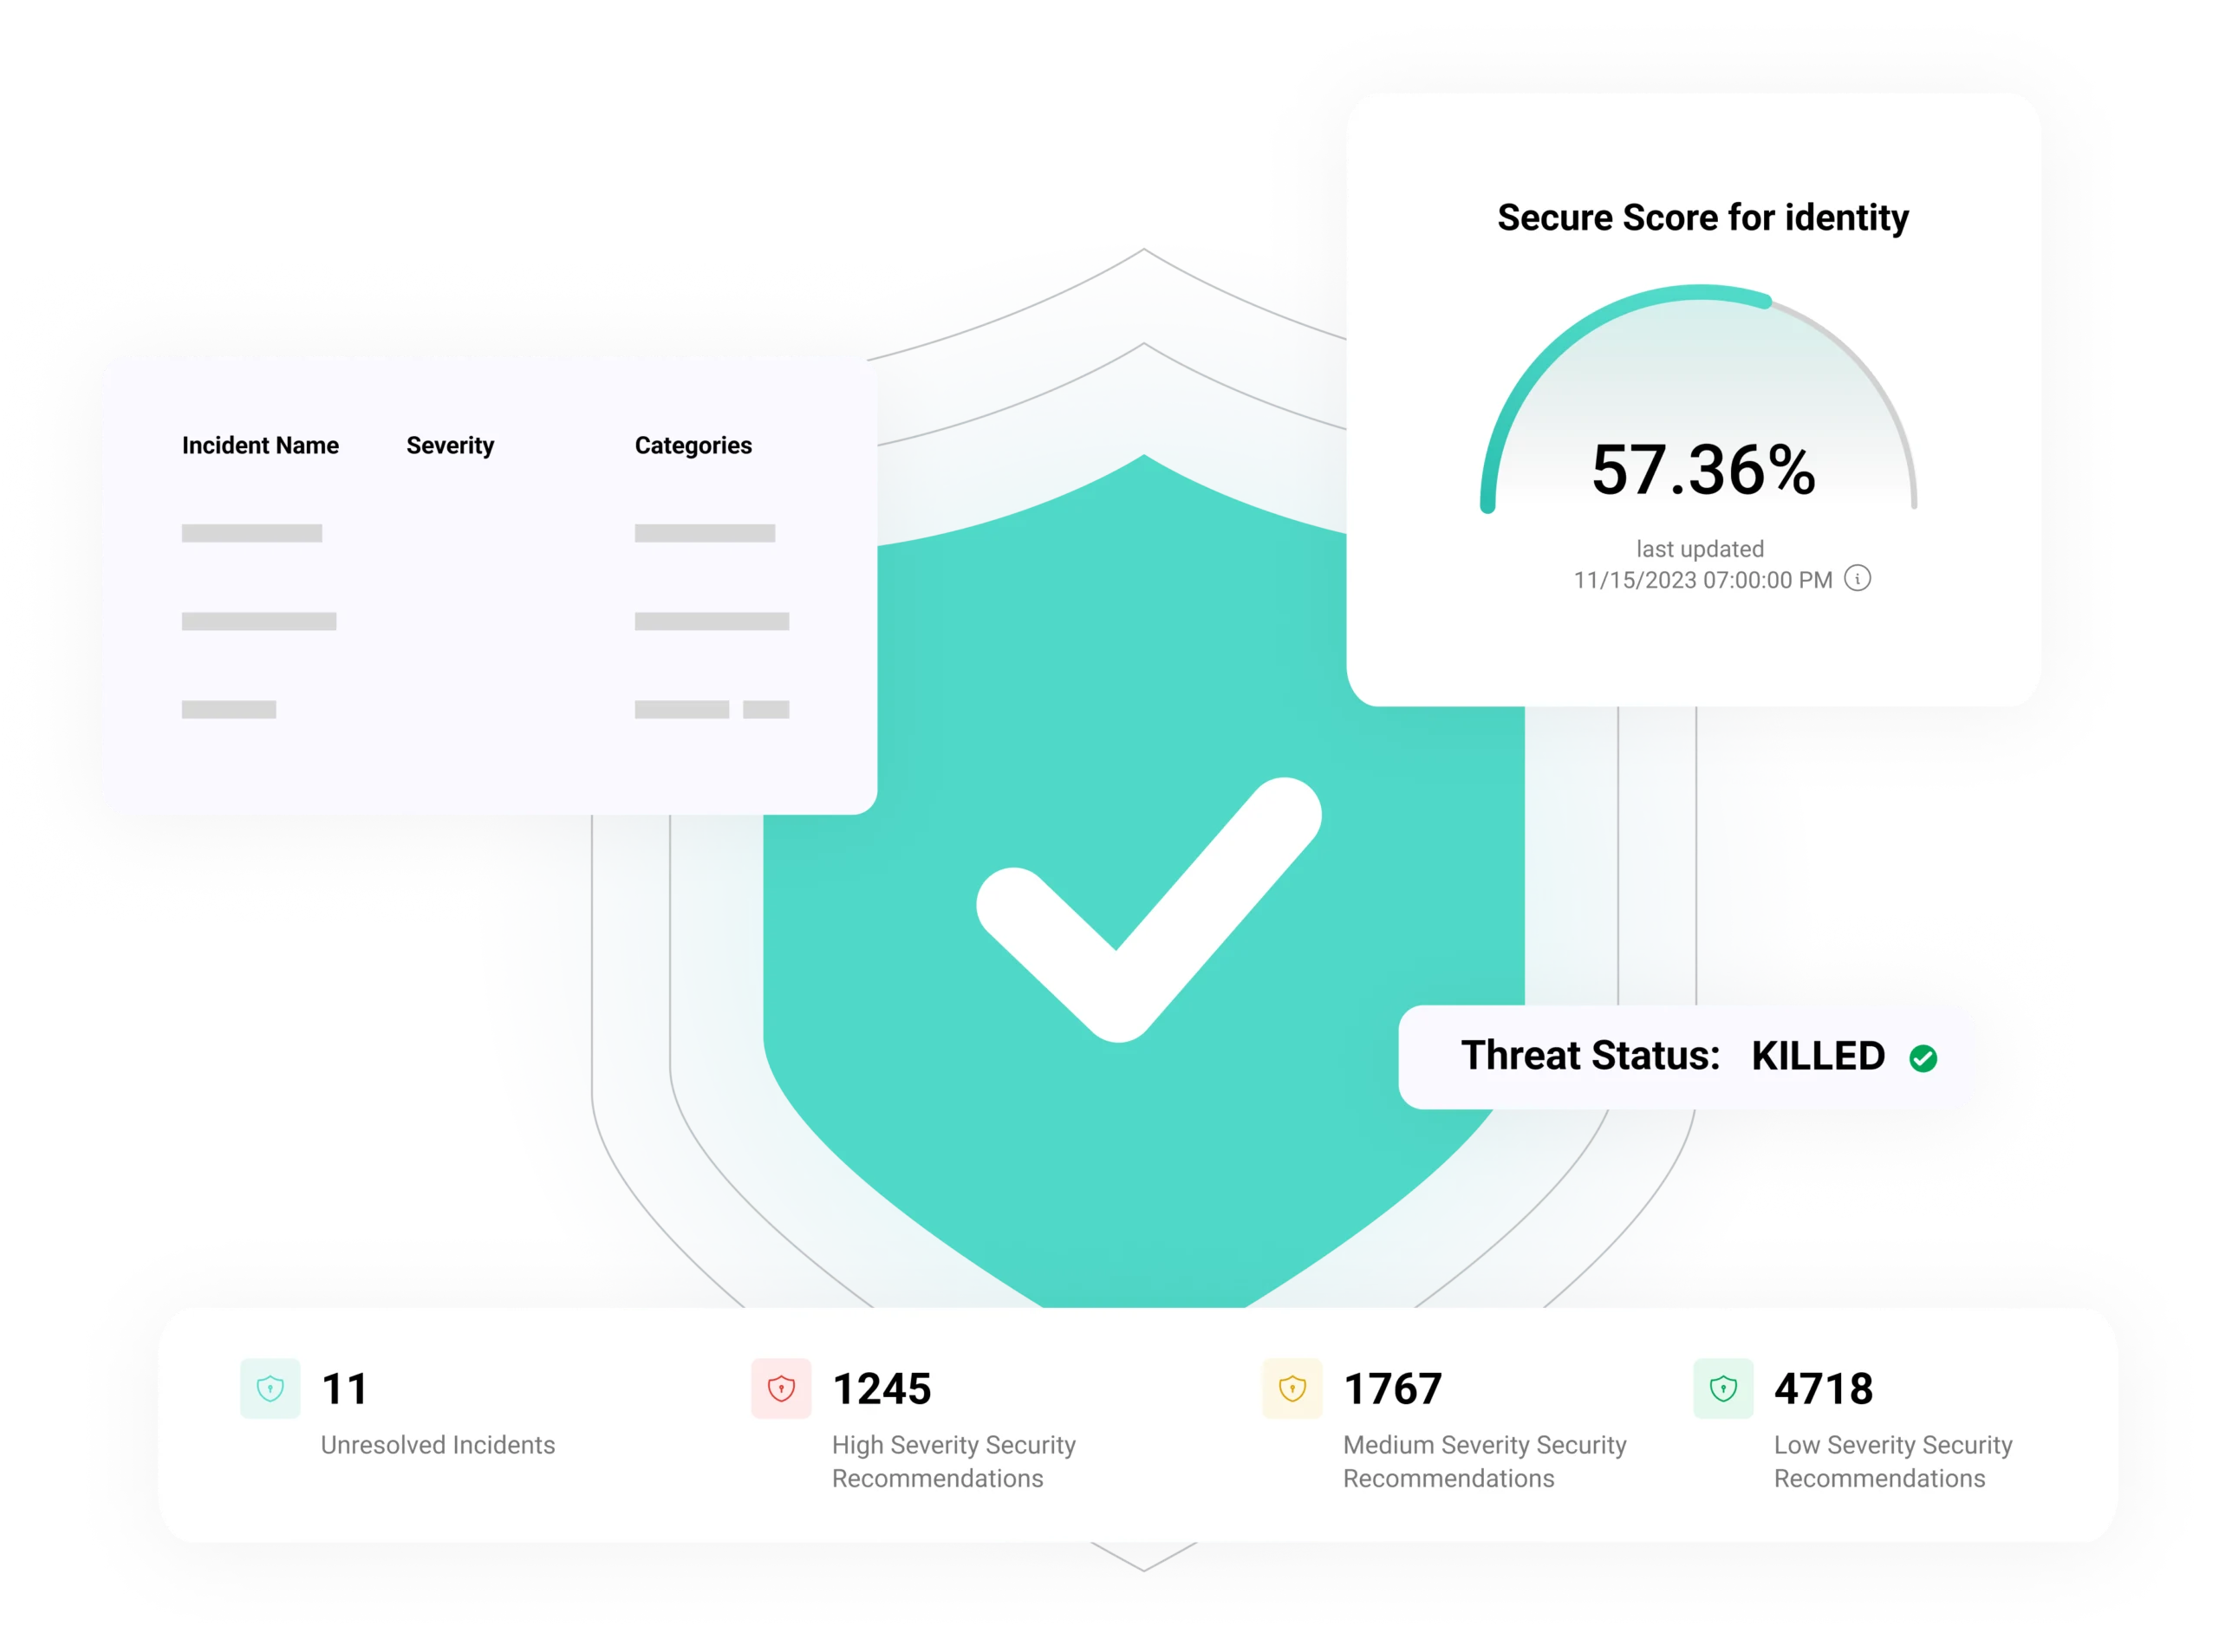
Simplify the way you manage antivirus protection. Deploy Microsoft Defender across your clients' devices directly, without the complexities of Intune or manual installations. Our platform ensures comprehensive endpoint security, keeping your clients' devices safe from modern cyber threats.
Learn More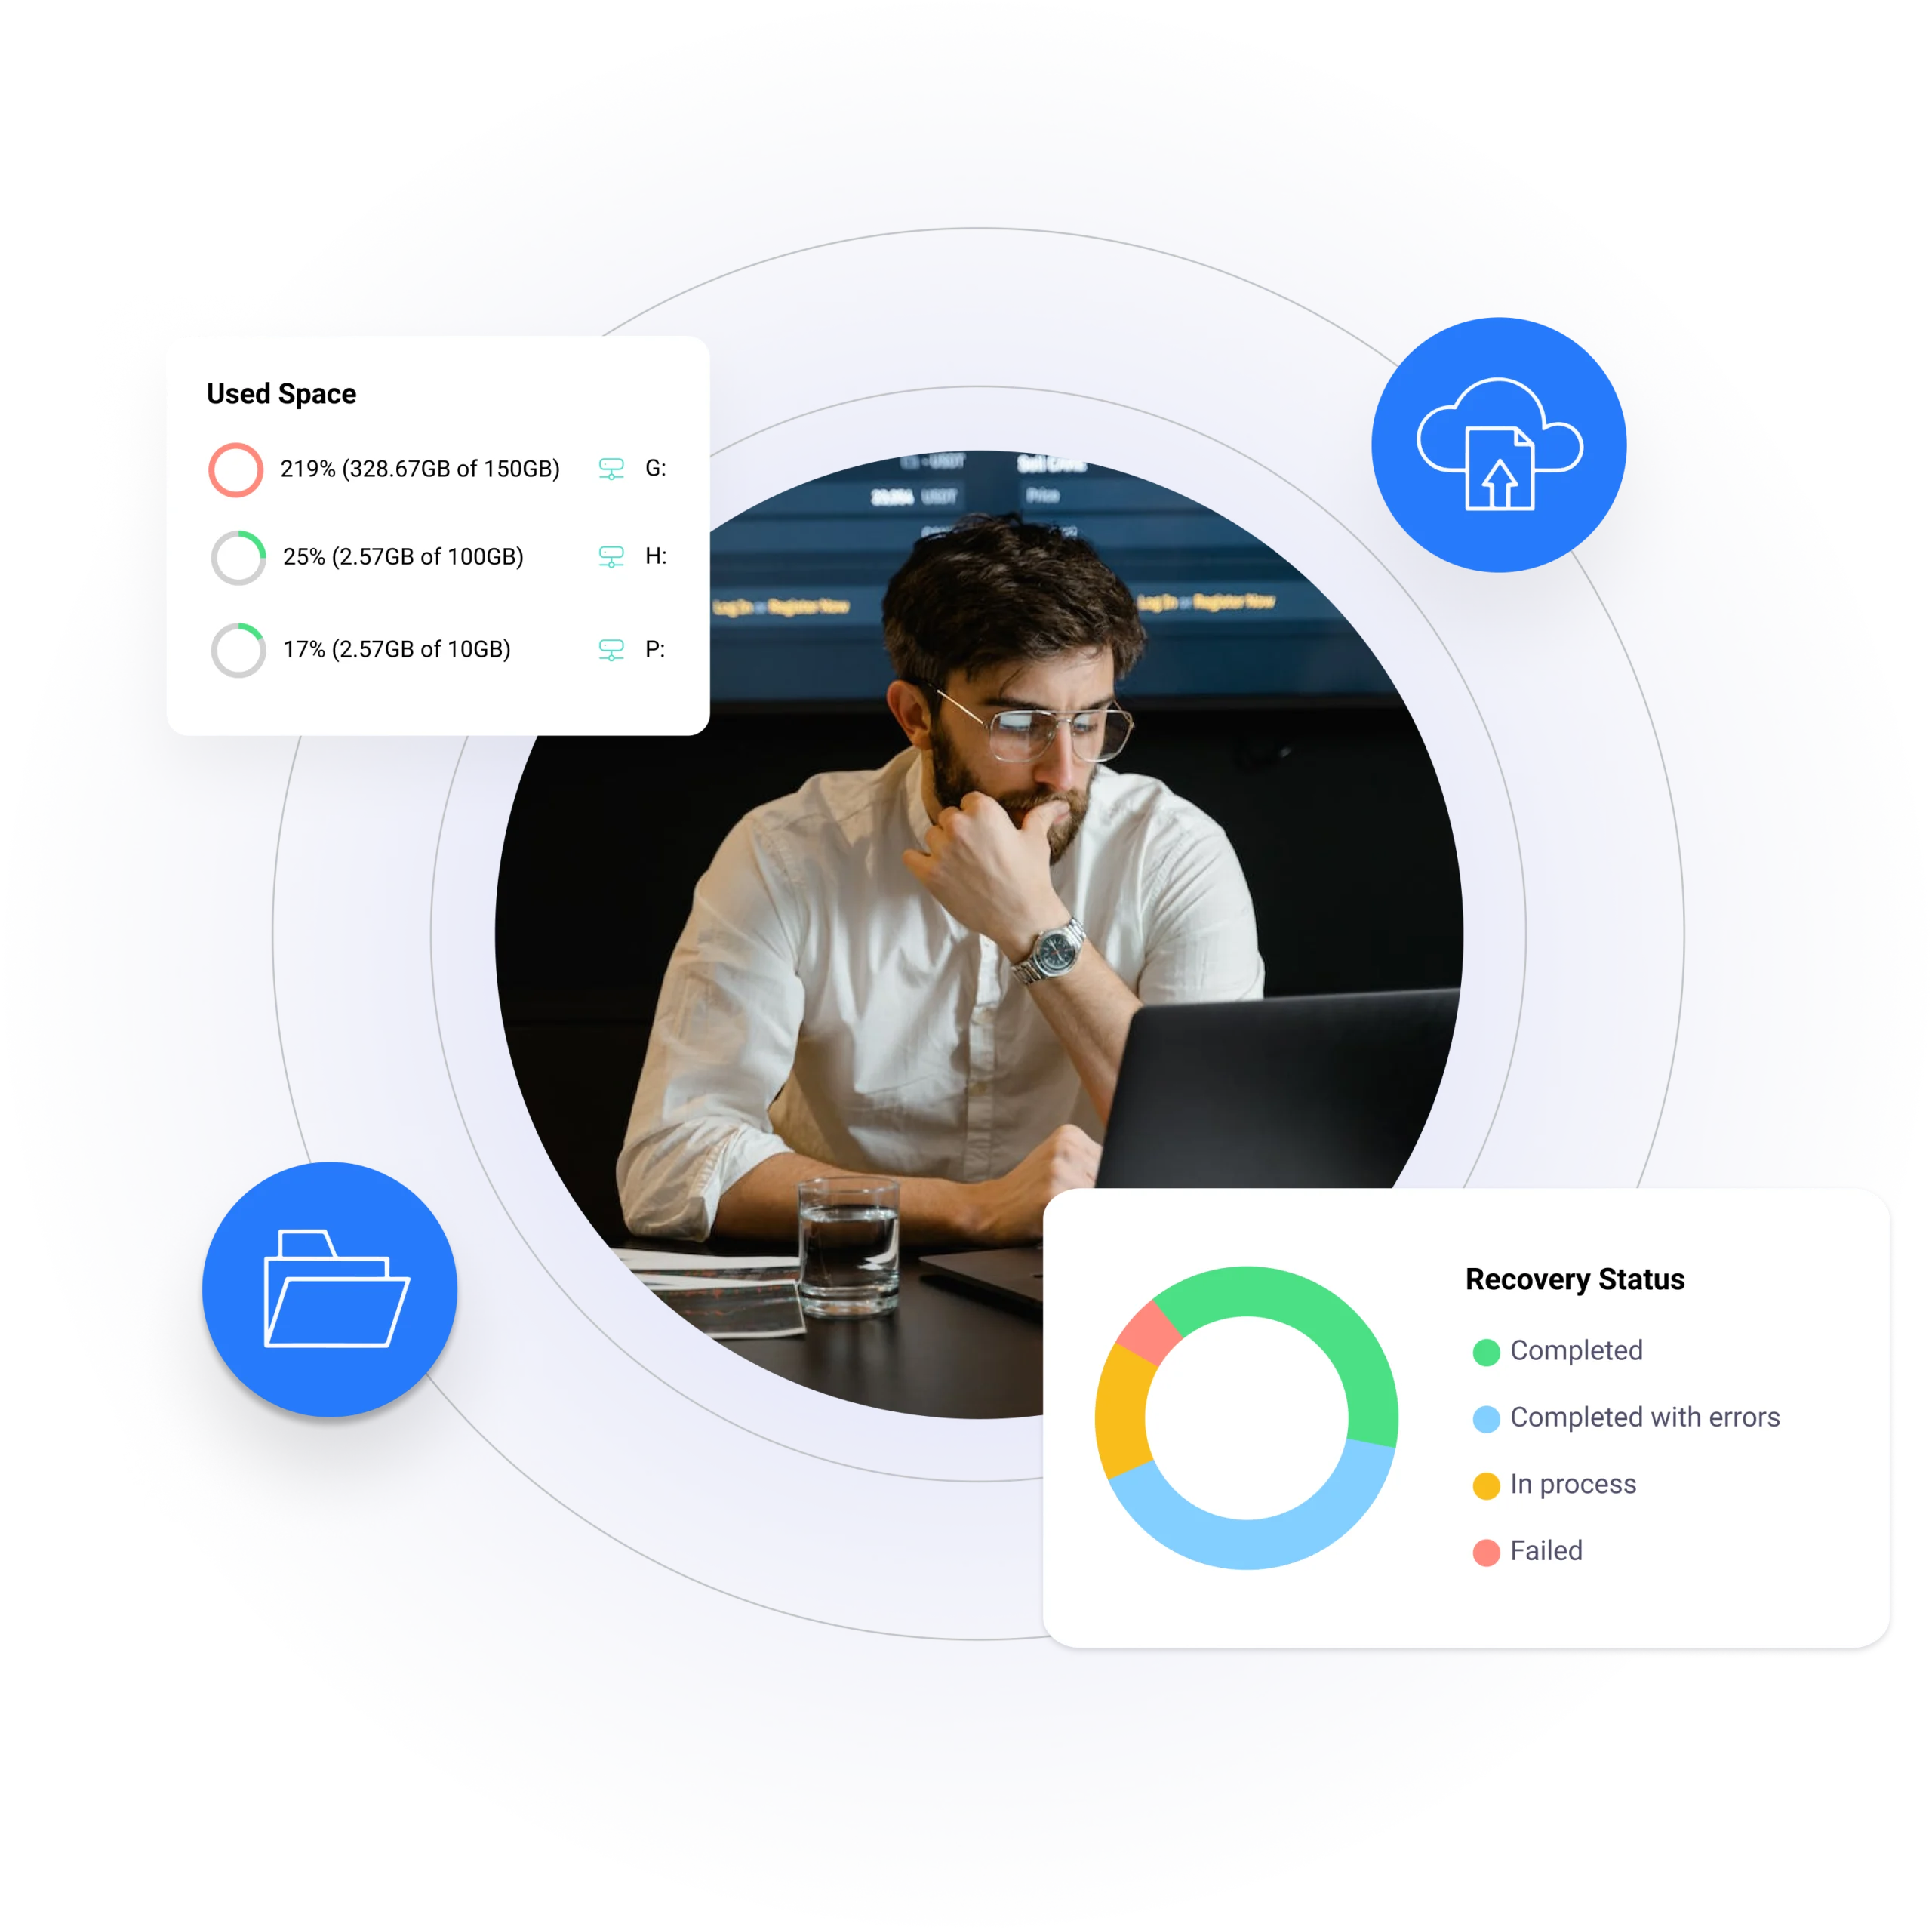
Seamlessly monitor and manage both on-premises Veeam backups and cloud-based Azure Backups, ensuring data protection and rapid recovery for your clients. Simplify disaster preparedness and empower them with confidence in the face of potential threats.
Learn More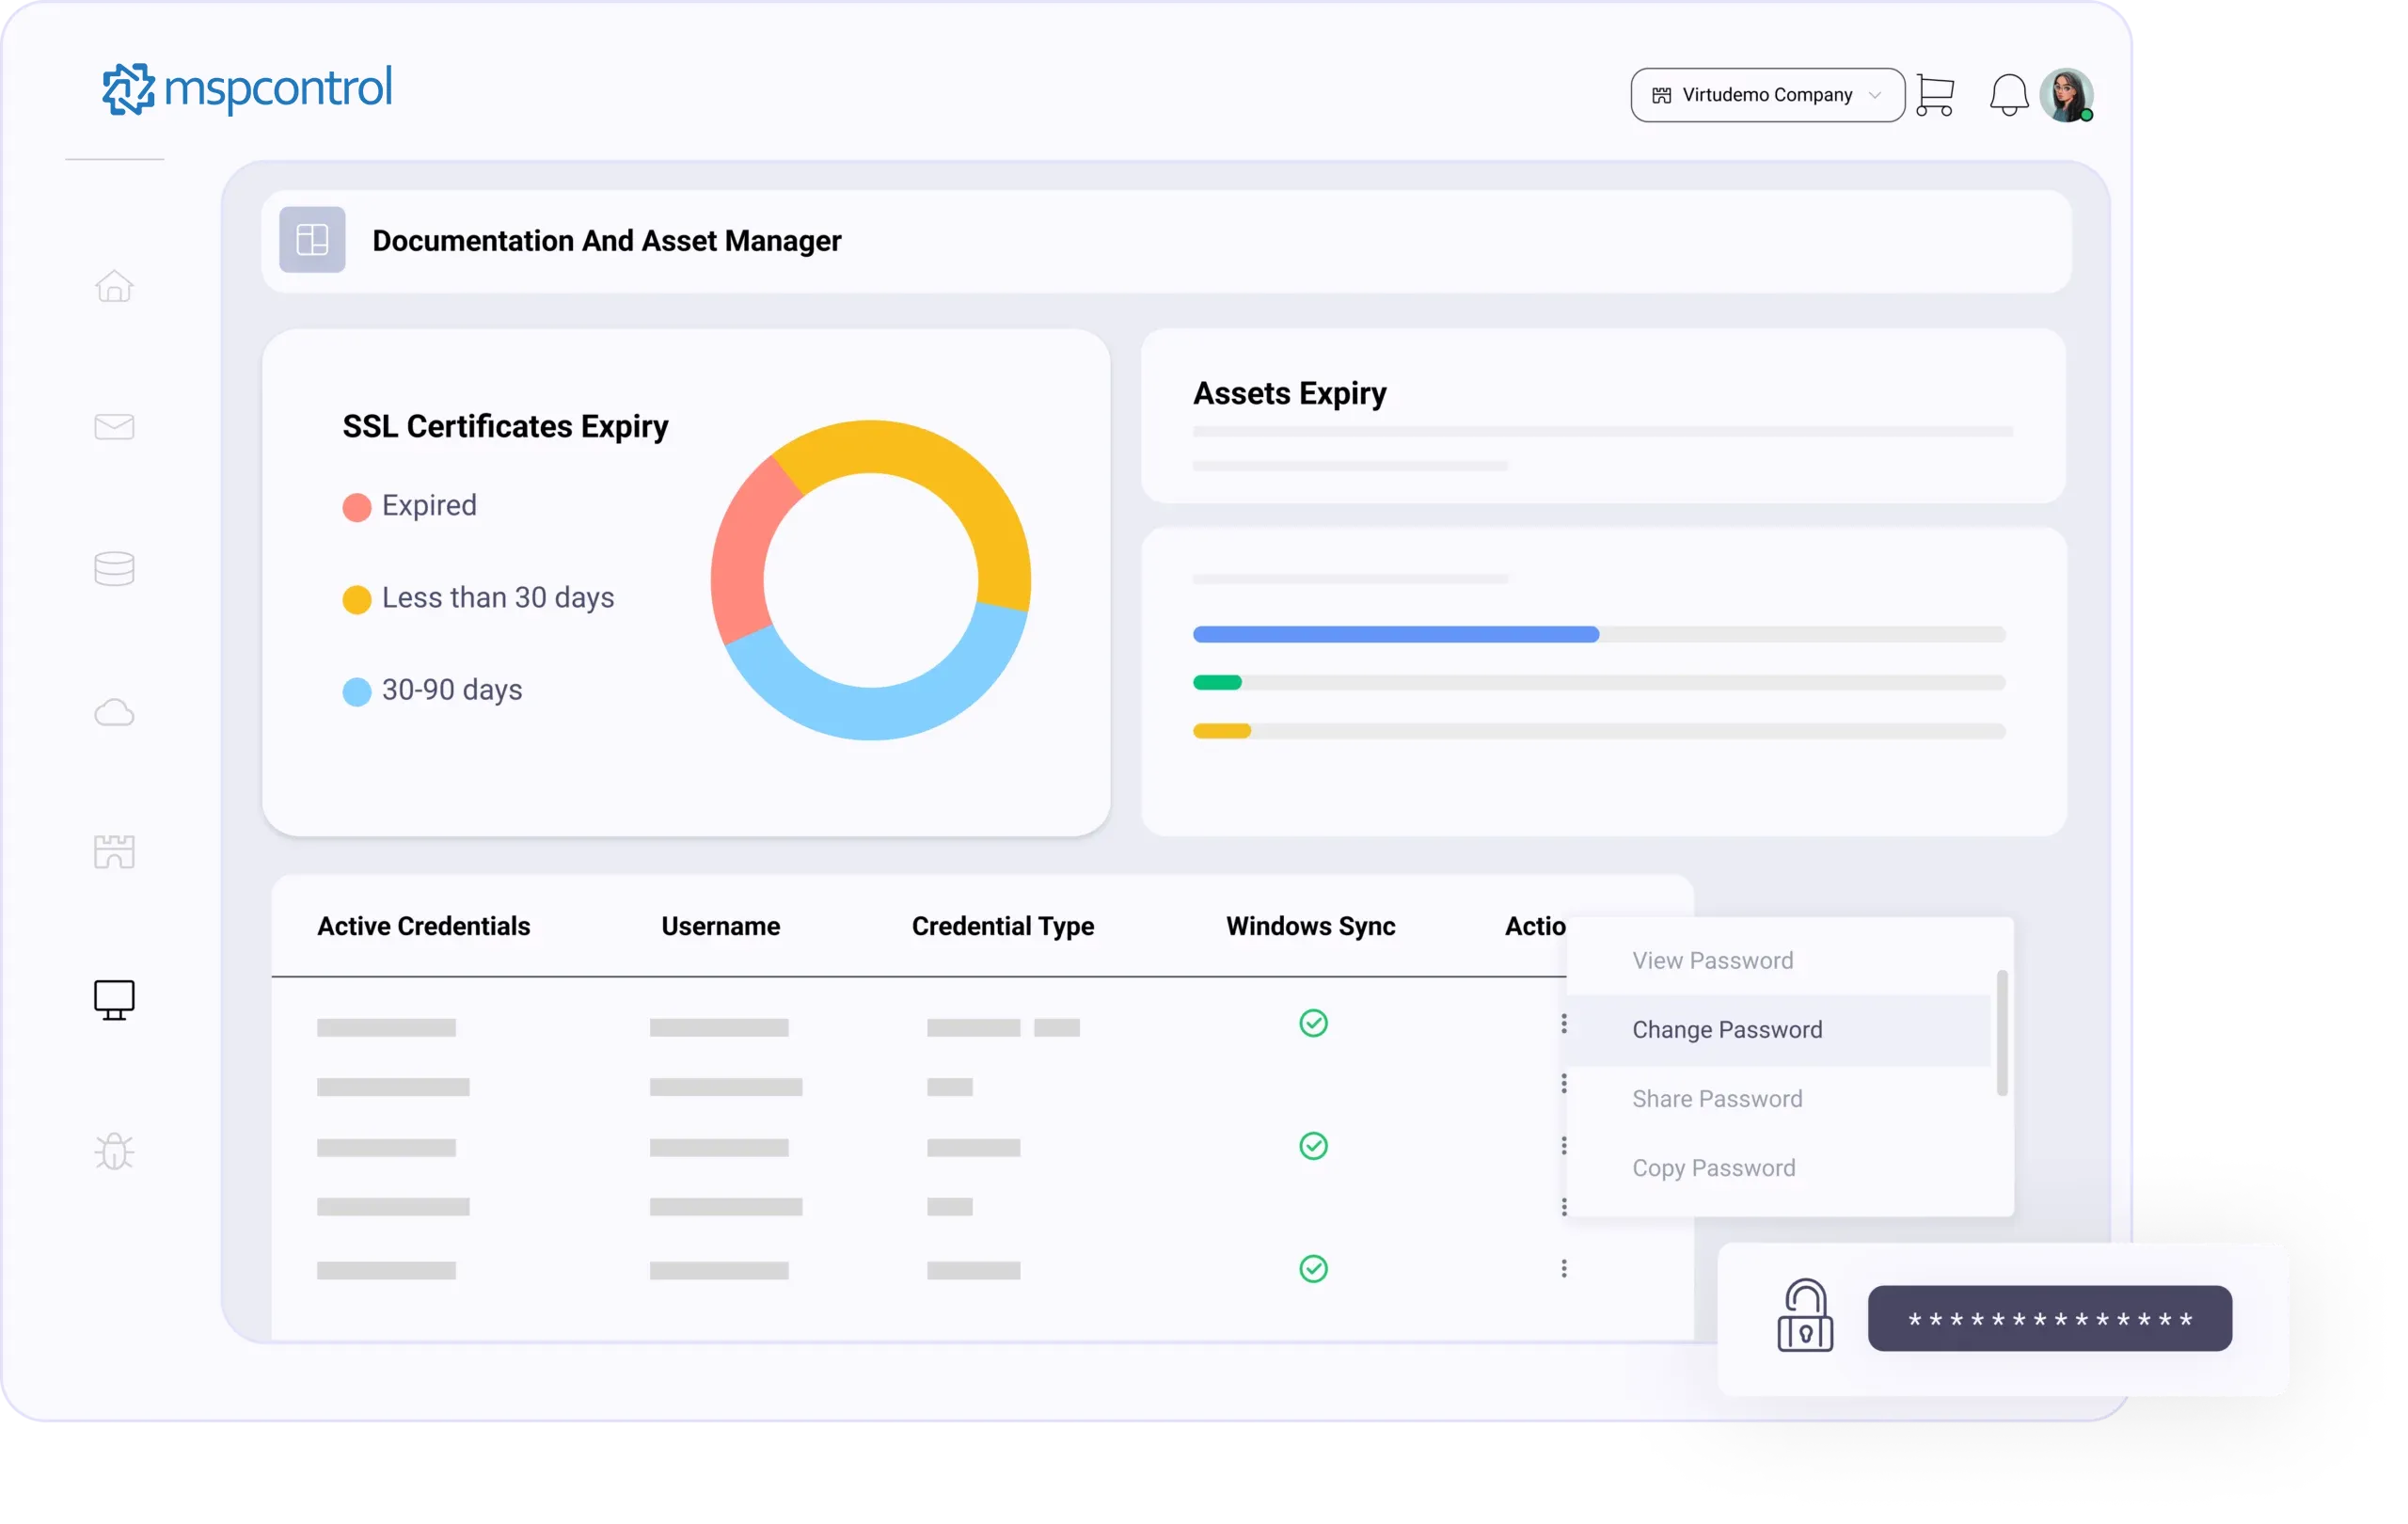
Track assets, enforce policies, and organize with user-defined tags. Detailed notes and documentation ensure efficient operations and informed decision-making.
Learn More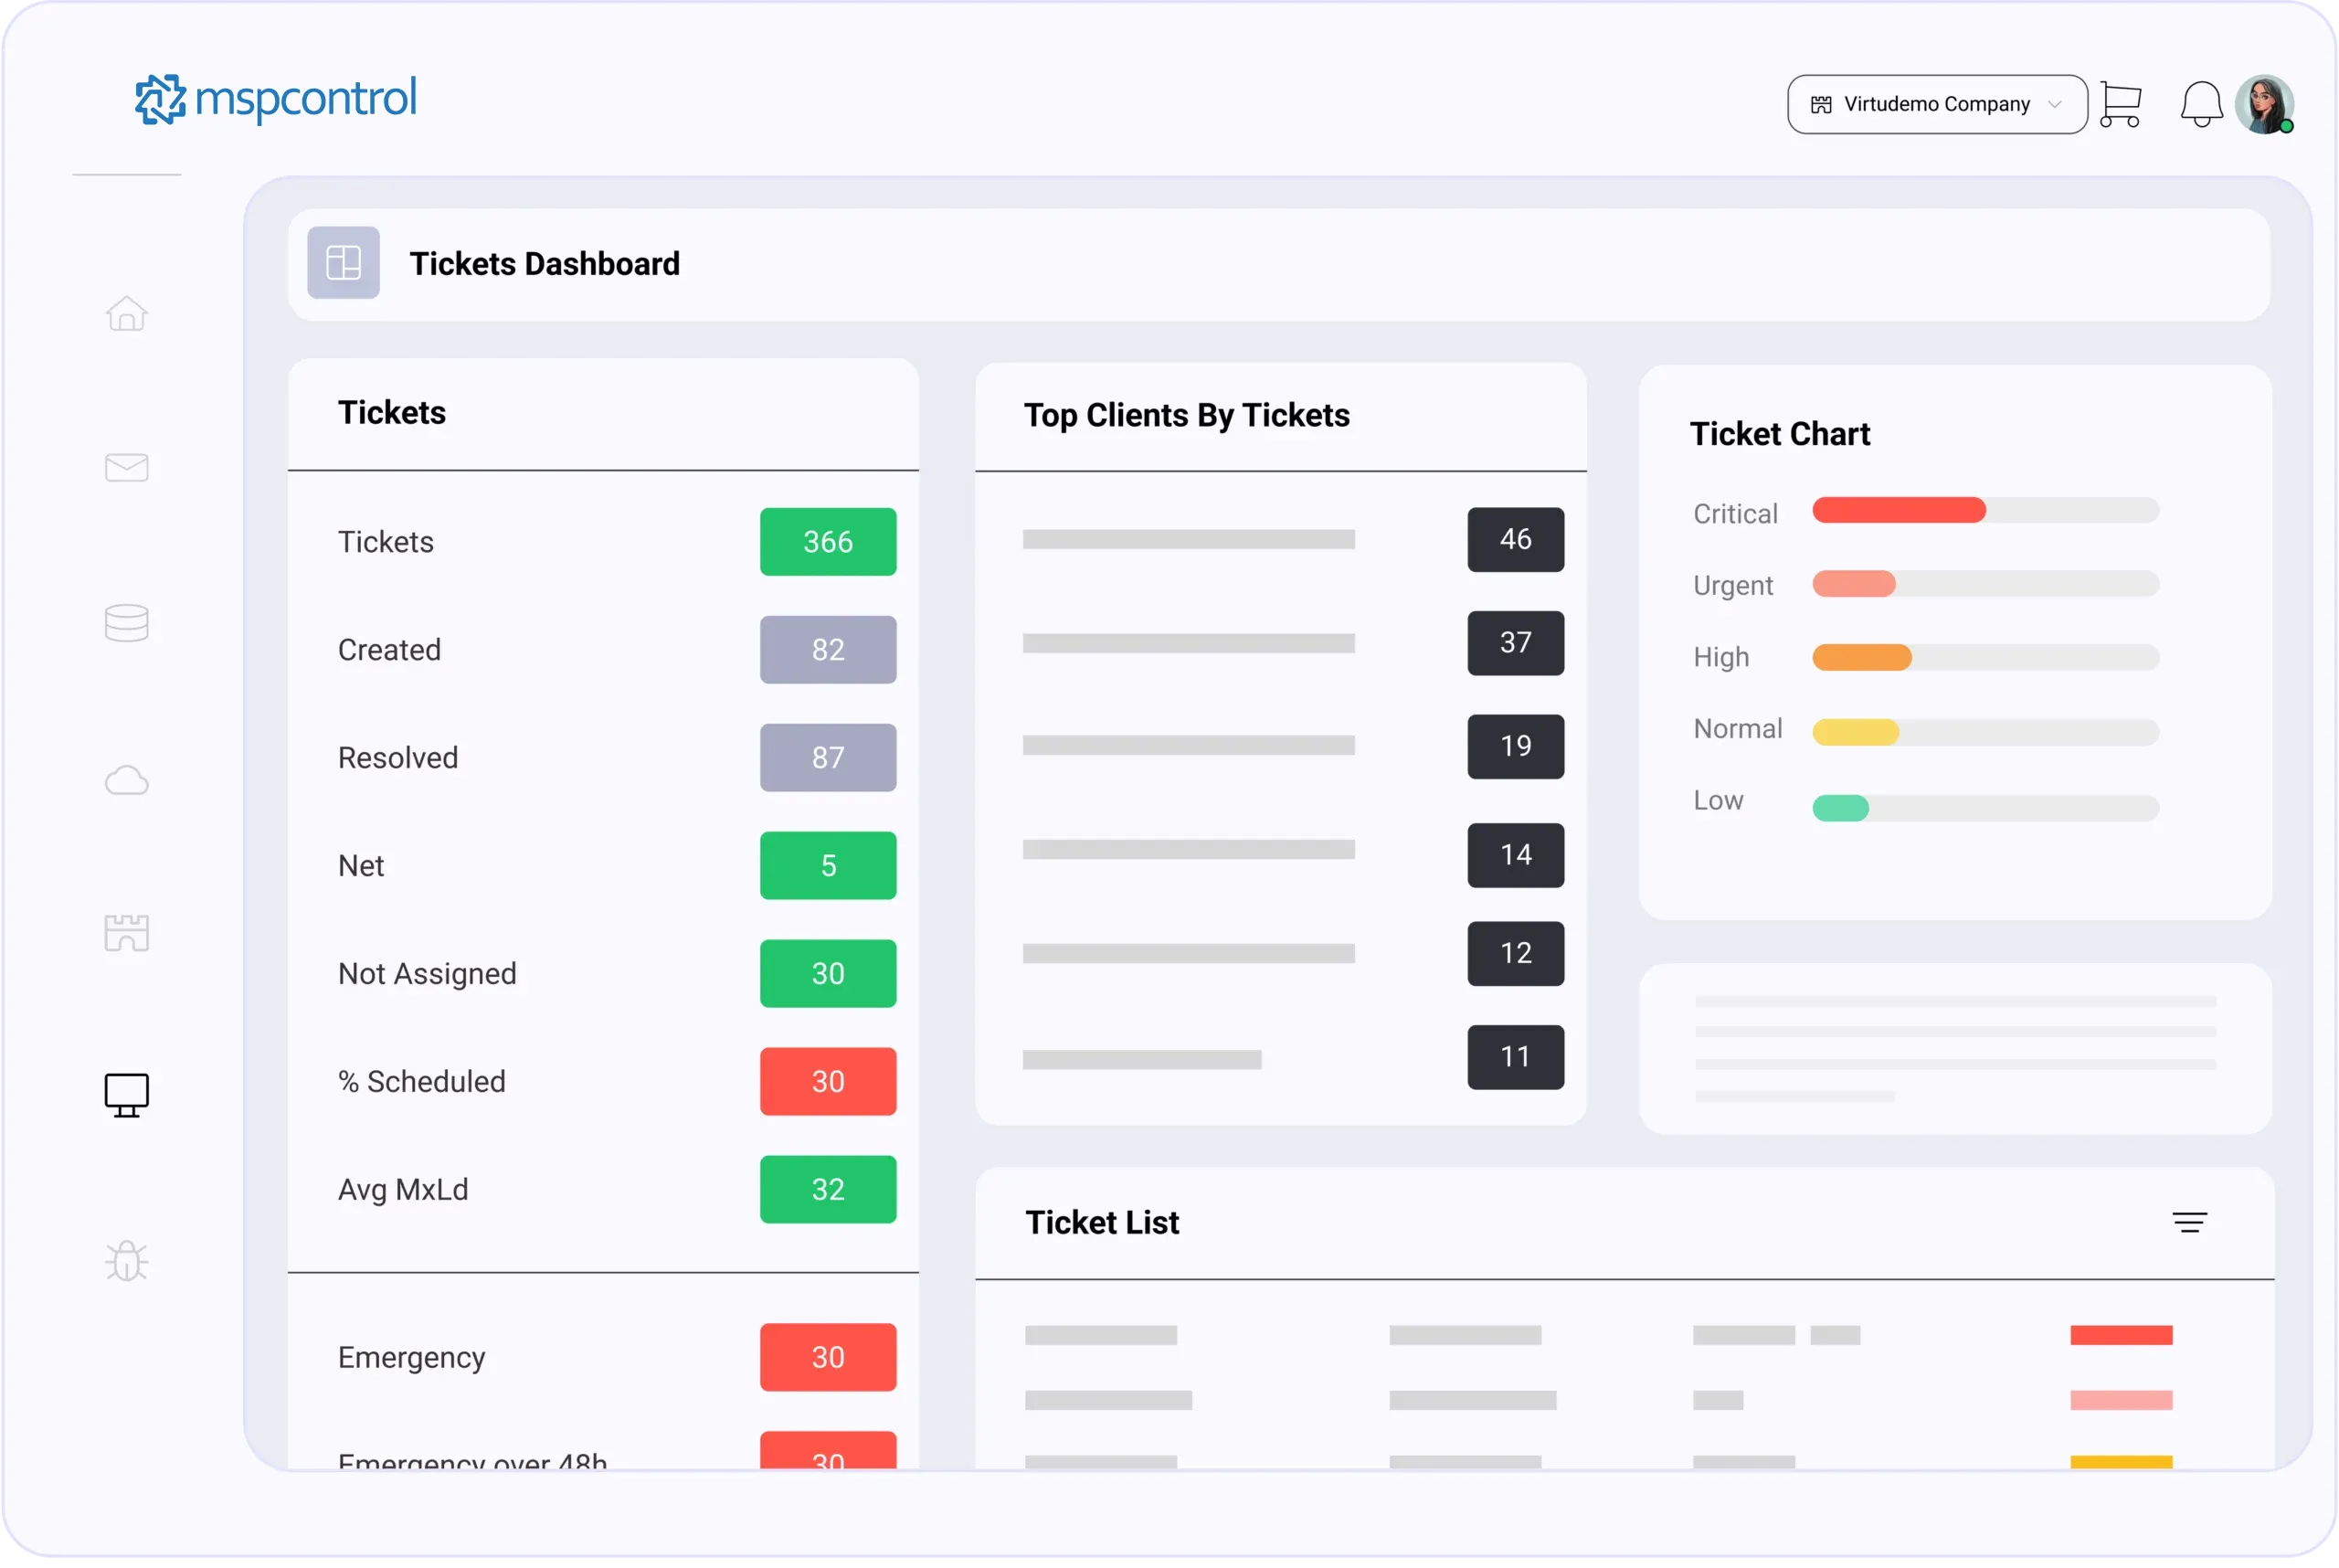
Elevate your IT support by seamlessly integrating with Connectwise PSA. Automate ticket creation from diverse sources, streamline incident management with security.microsoft.com sync, and improve organization through pre-defined baselines and user/device synchronization. Focus on resolving issues, not managing tickets, with a unified and efficient workflow.
Learn More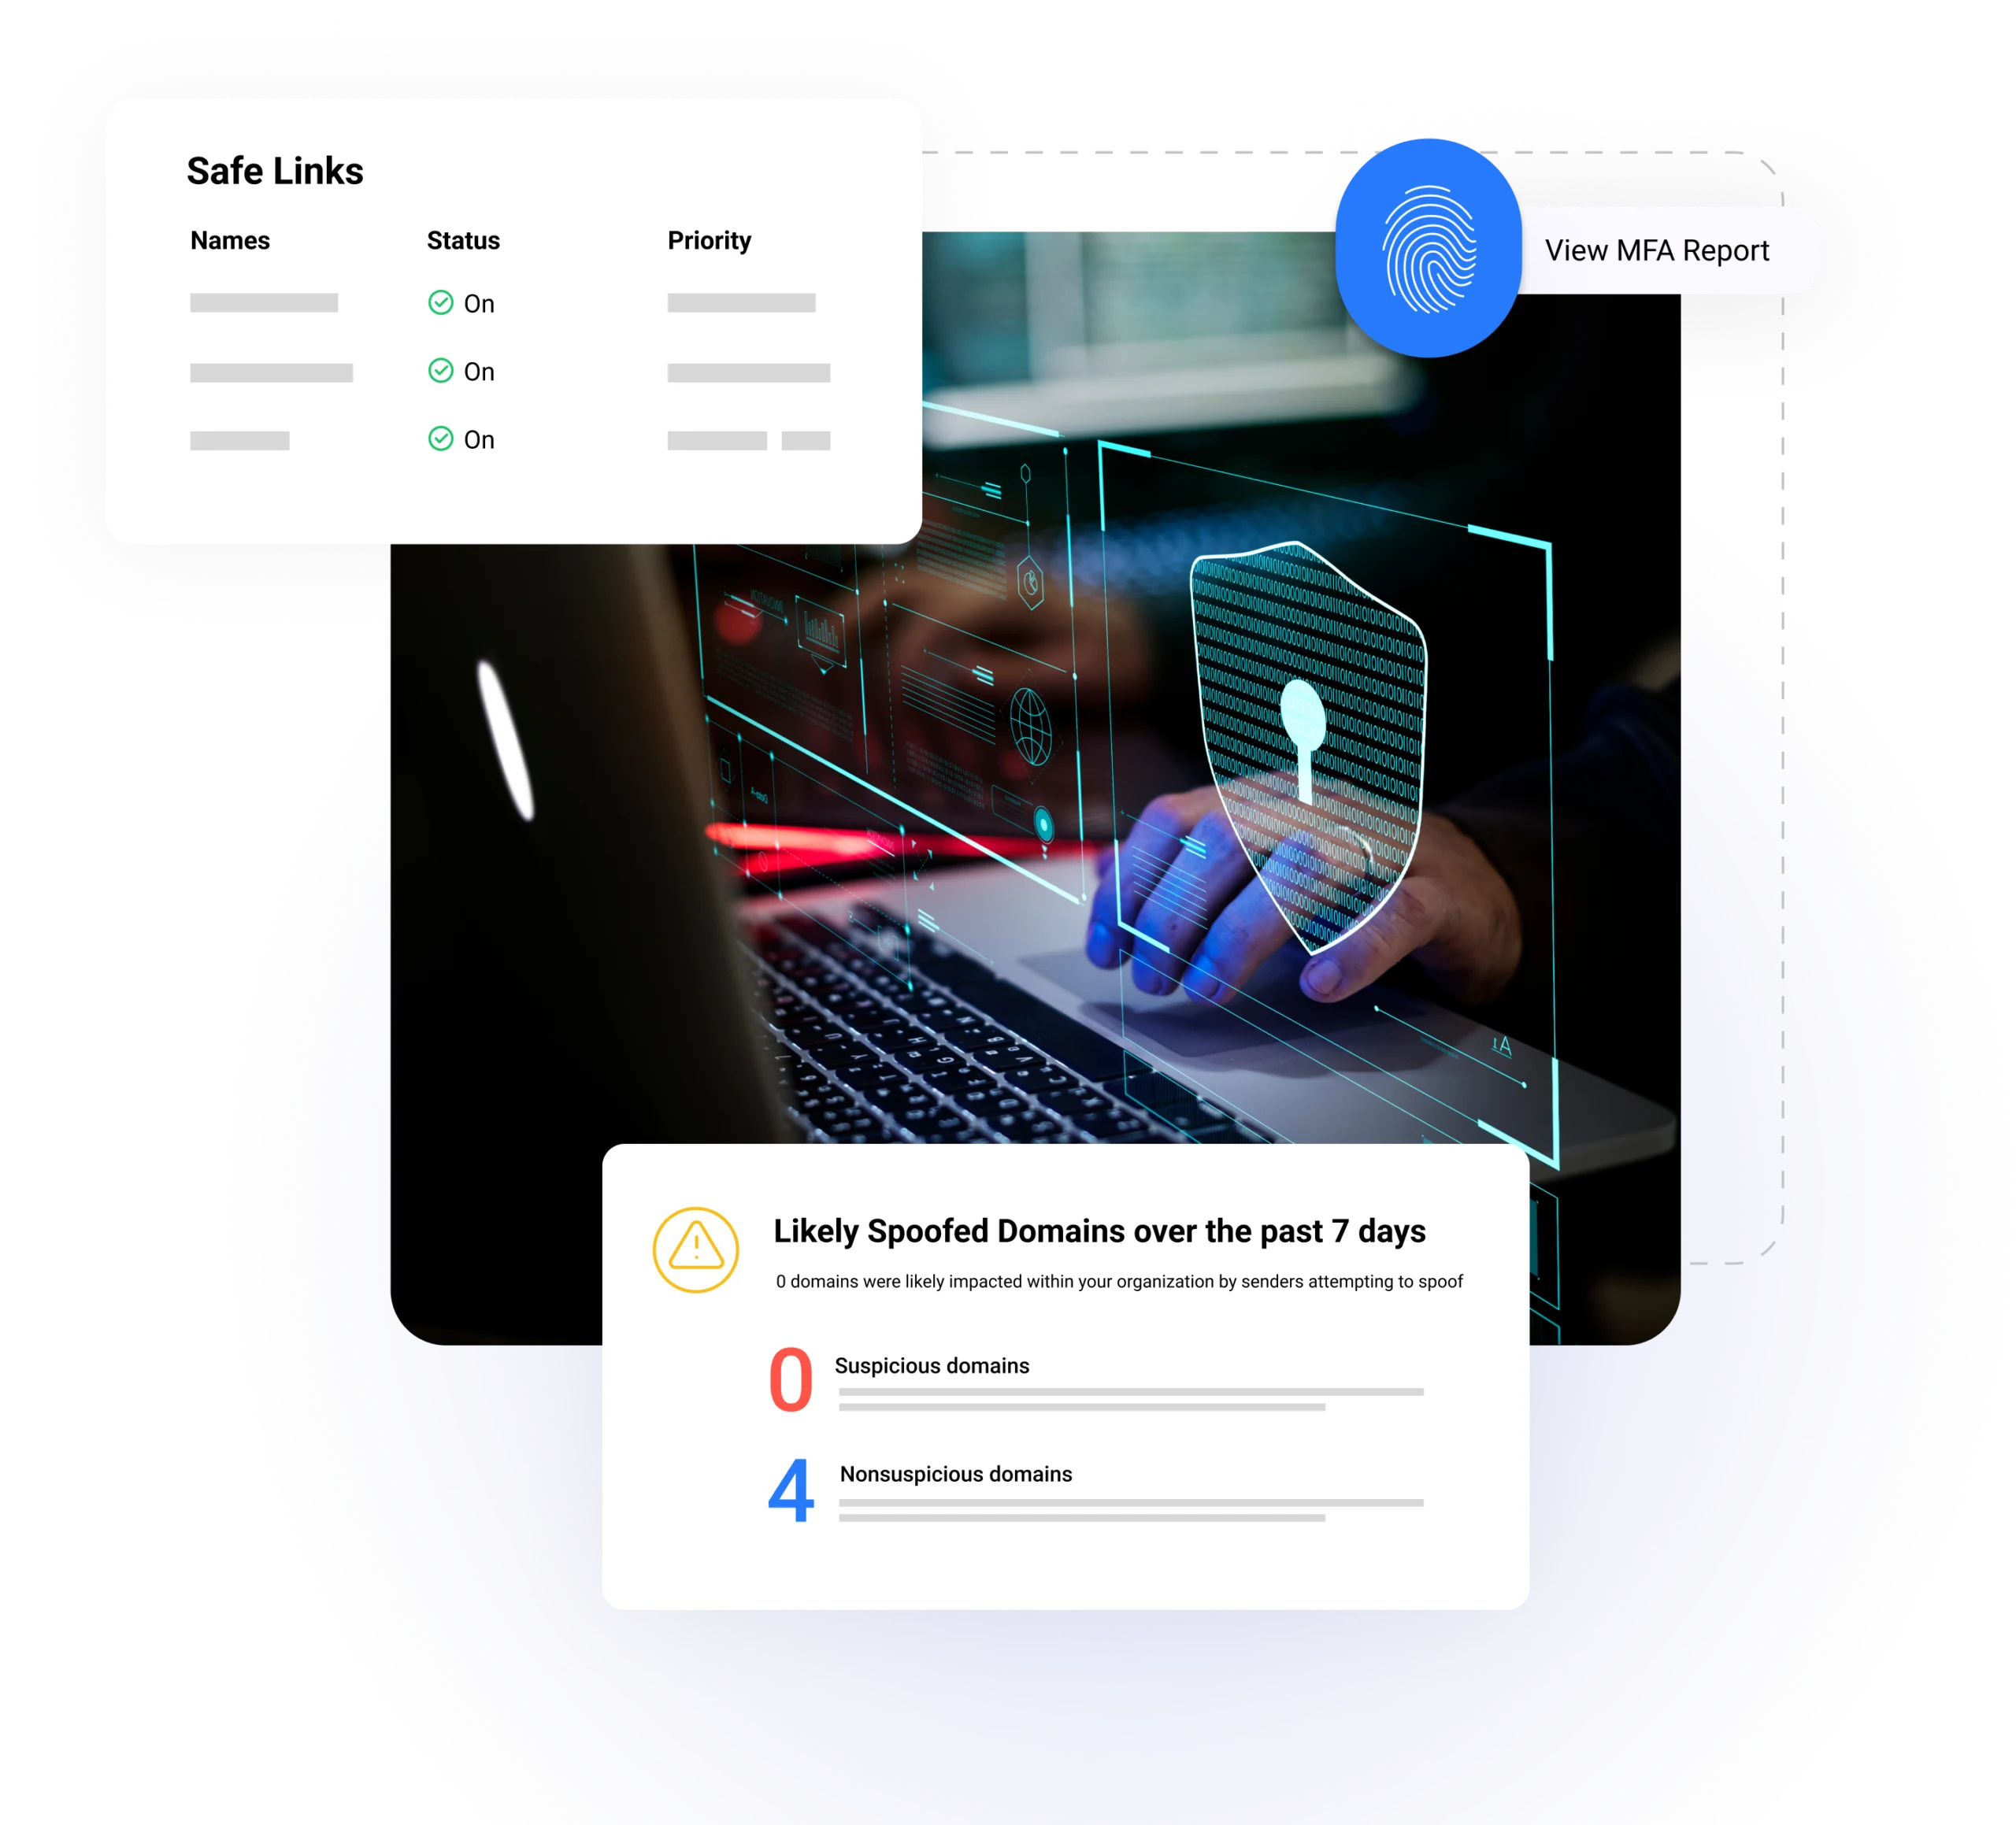
Protect your clients from evolving cyber threats with a comprehensive security solution. Leverage advanced detection mechanisms, robust authentication protocols, and real-time security insights all in one place. Proactively address potential risks and ensure a secure IT environment for your clients, empowering them to focus on their business goals.
Learn MoreOur platform saves you time and money by maximizing and automating your IT processes and workflow.

Reduce time and overhead necessary to manage organizations.

Help with Employee Onboarding and Offboarding with Automated Workflows

Manage the bulk of your IT ecosystem from a single interface.

Secure your environment with cutting-edge features and services

Perform complex tasks with minimal technical knowledge.

Centralize your service billing & management.
Reduce time and overhead necessary to manage organizations.
Help with Employee Onboarding and Offboarding with Automated Workflows
Manage the bulk of your IT ecosystem from a single interface.
Secure your environment with cutting-edge features and services
Perform complex tasks with minimal technical knowledge.
Centralize your service billing & management.


- Bruce Corkhill, Web Wiz
- Irvan Riccasanta, PT Infinys System Indonesia
- Gavin Beukes
No credit card required for free, limited license.