First Setup Guide
After successfully installing MSPControl, follow this guide to complete the initial configuration of the control panel. This guide walks you through accessing the portal, configuring key components, and securing your environment.
Step 1: Access the MSPControl Portal
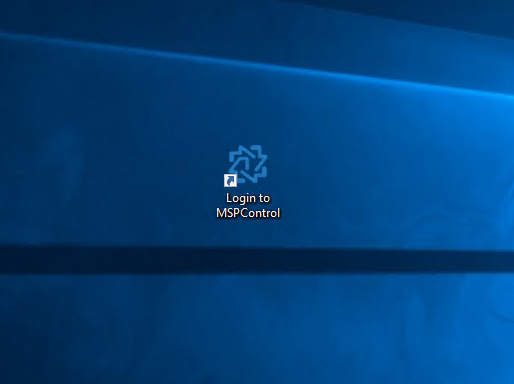
- Locate the “Login to MSPControl” desktop icon.
- This is a shortcut to the MSPControl Portal hosted in IIS (Internet Information Services). For more information on IIS, see Microsoft IIS Documentation.
First Setup Guide
- Double-click the icon to open the portal in your default browser.
- The First Setup Wizard should appear automatically.
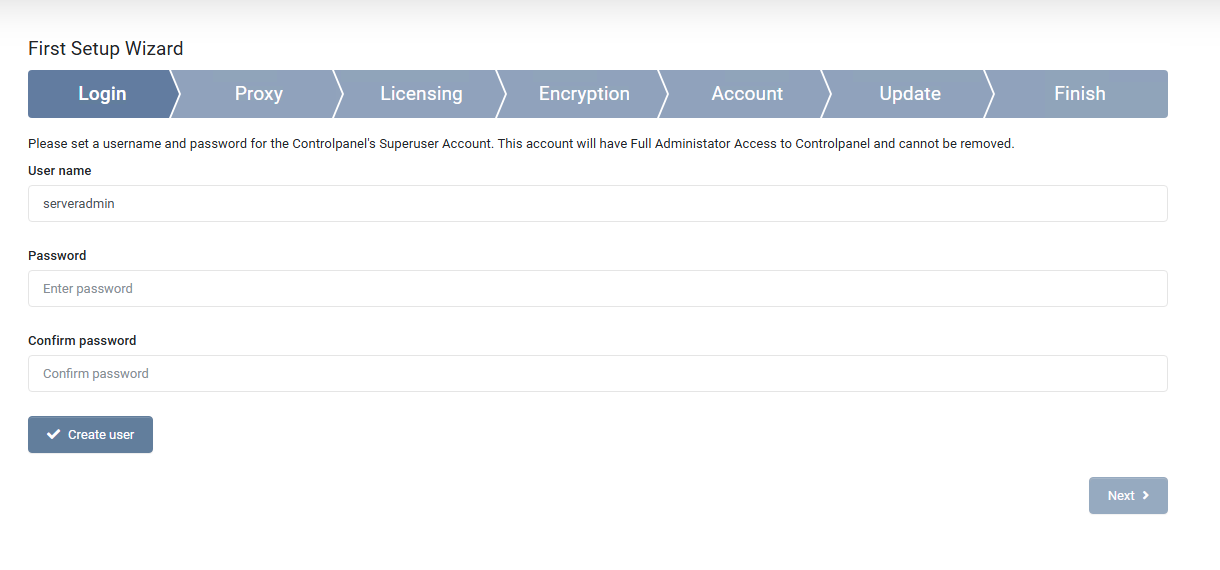
Step 2: Configure the Superuser Account
- On the Login page of the wizard:
- Enter the desired username (default is
serveradmin).
- Set and confirm a strong password for your admin account. For password guidance, refer to Microsoft Password Guidance.
- Click Create User.
- Click Next to proceed.
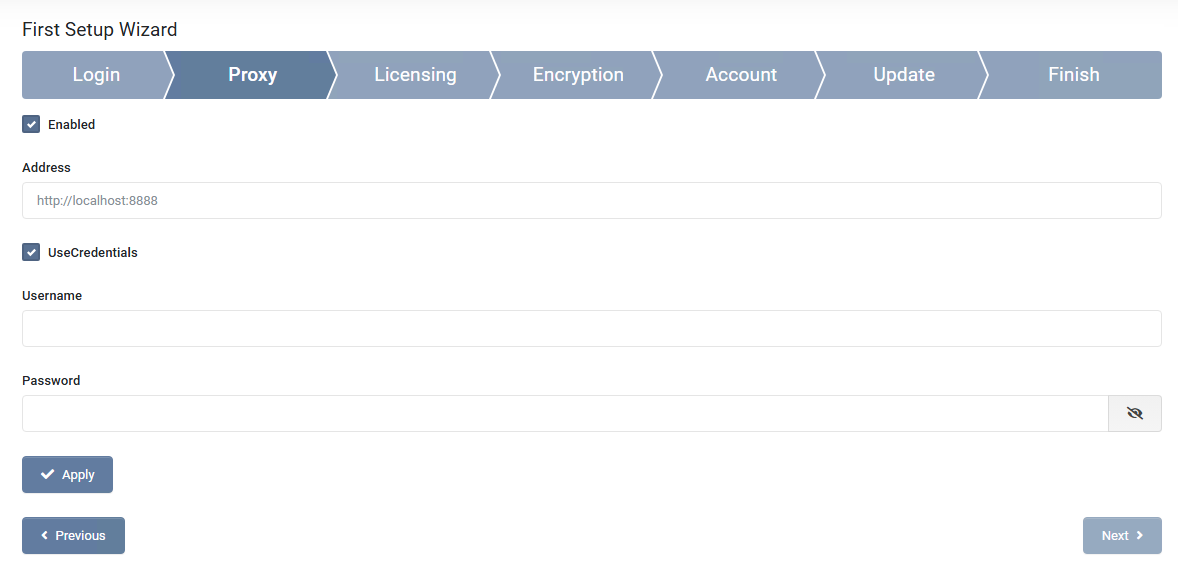
Step 3: Configure Proxy (Optional)
- If your setup requires a proxy:
- Enable the Proxy option by checking the box.
- Specify the proxy address (e.g.,
http://localhost:8888).
- Check UseCredentials if authentication is required, and enter the Username and Password.
- Click Apply to save settings.
- Click Next to continue.
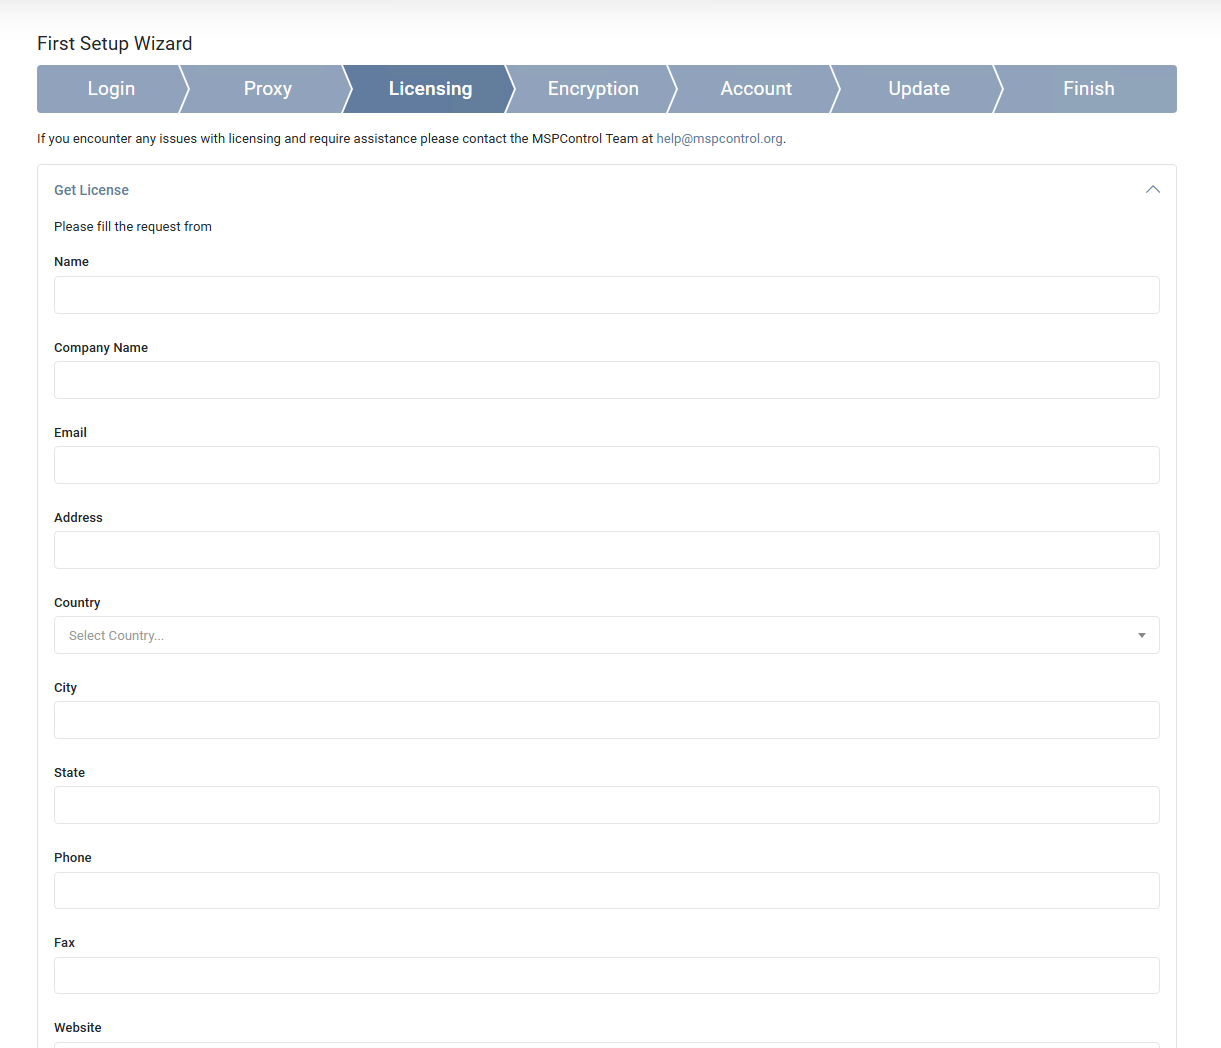
Step 4: Licensing
- On the Licensing page:
- Fill out the form with your Name, Email, Company Name, and verify your Machine SID.
- To obtain a license:
- For the free plan, click Start using for free. This grants you immediate access with limited features. For plan details, refer to the Pricing Page.
- For paid plans (Lite, Business, Enterprise), click Buy Now to complete your purchase. For details on plan differences, see the Pricing Page.
- To upload a purchased license:
- Click Choose File and upload your license file.
- Click Upload to activate.
- Once the license is added, click Next to proceed.
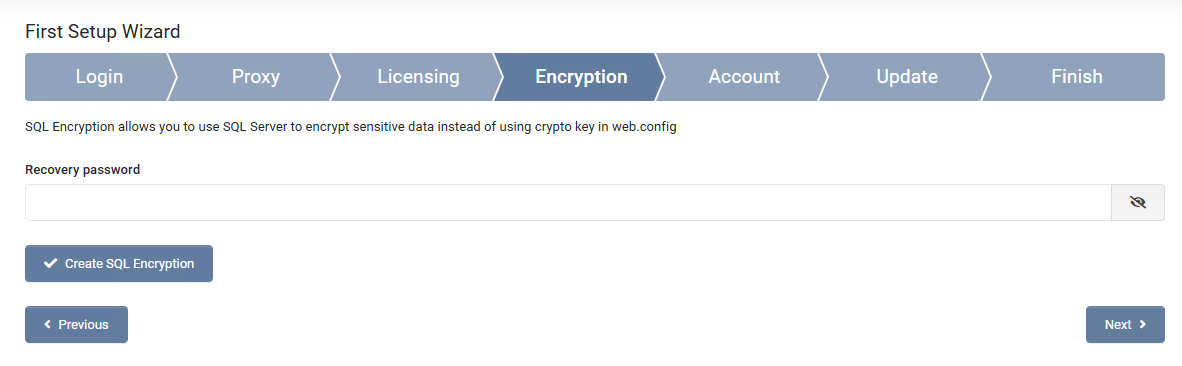
Step 5: SQL Encryption Configuration
- On the Encryption page of the wizard:
- Enter a strong Recovery Password. This password is critical to recover encryption keys if needed. Store this password securely; it cannot be retrieved if lost.
- Click Create SQL Encryption to initialize encryption in the database.
- Click Next to proceed.
Step 6: Configure the Admin Account Details
On the Account page of the wizard, provide additional details for the superuser account and contact information.
- User Name: Pre-filled with
serveradmin (cannot be changed).
- Photo: Optionally upload a profile photo.
- Personal Details: First and Last Name, Company Name, Email Address, and Secondary Email.
- Mail Format: Choose HTML or Plain Text.
- Contact Information: Street Address, City, Country, State, Postal Code, and Phone Numbers.
- Display Preferences: Interface Language and Items Per Page.
Click Submit to save, then Next to proceed.
Step 7: Verify Updates
-
- The wizard will check for updates.
- If up-to-date, click Next.
- If an update is available, follow the prompts to install before proceeding.

Step 8: Finish the Setup
- On the Finish page, confirm installation.
- Message: “Thank you for installing MSPControl. Click the finish button to go to the panel.”
- Click Done to complete setup and access the MSPControl dashboard.

Best Practices
- Set strong passwords and rotate them regularly. Refer to Microsoft Password Guidance.
- Configure firewall settings to restrict unauthorized access. See Firewall Configuration Guide.
- Enable SQL encryption to secure your data at rest.
- Monitor logs regularly for any suspicious activity or errors.
- Backup your MSPControl installation regularly to prevent data loss.
Congratulations! MSPControl is now fully installed. You can start configuring your hosting environment through the control panel.
