VM Templates
The VM Templates feature in MSPControl enables administrators to create standardized virtual machine templates for deployment across Hyper-V and RDS environments. This standardization reduces manual errors, improves efficiency, and ensures consistency in your RMM (Remote Monitoring & Management) processes.

Accessing VM Templates
Navigate to Settings > VM Templates to view the current list of templates. The main grid displays:
- Name: Identifier for the template.
- Operating System: OS pre-installed on the template (e.g., Windows Server 2022).
- Disk Size: The storage allocation for the VM disk image.
- Status: Indicates if the template is Active or Inactive.
Clicking a template name opens the details page for managing or updating the template configuration.
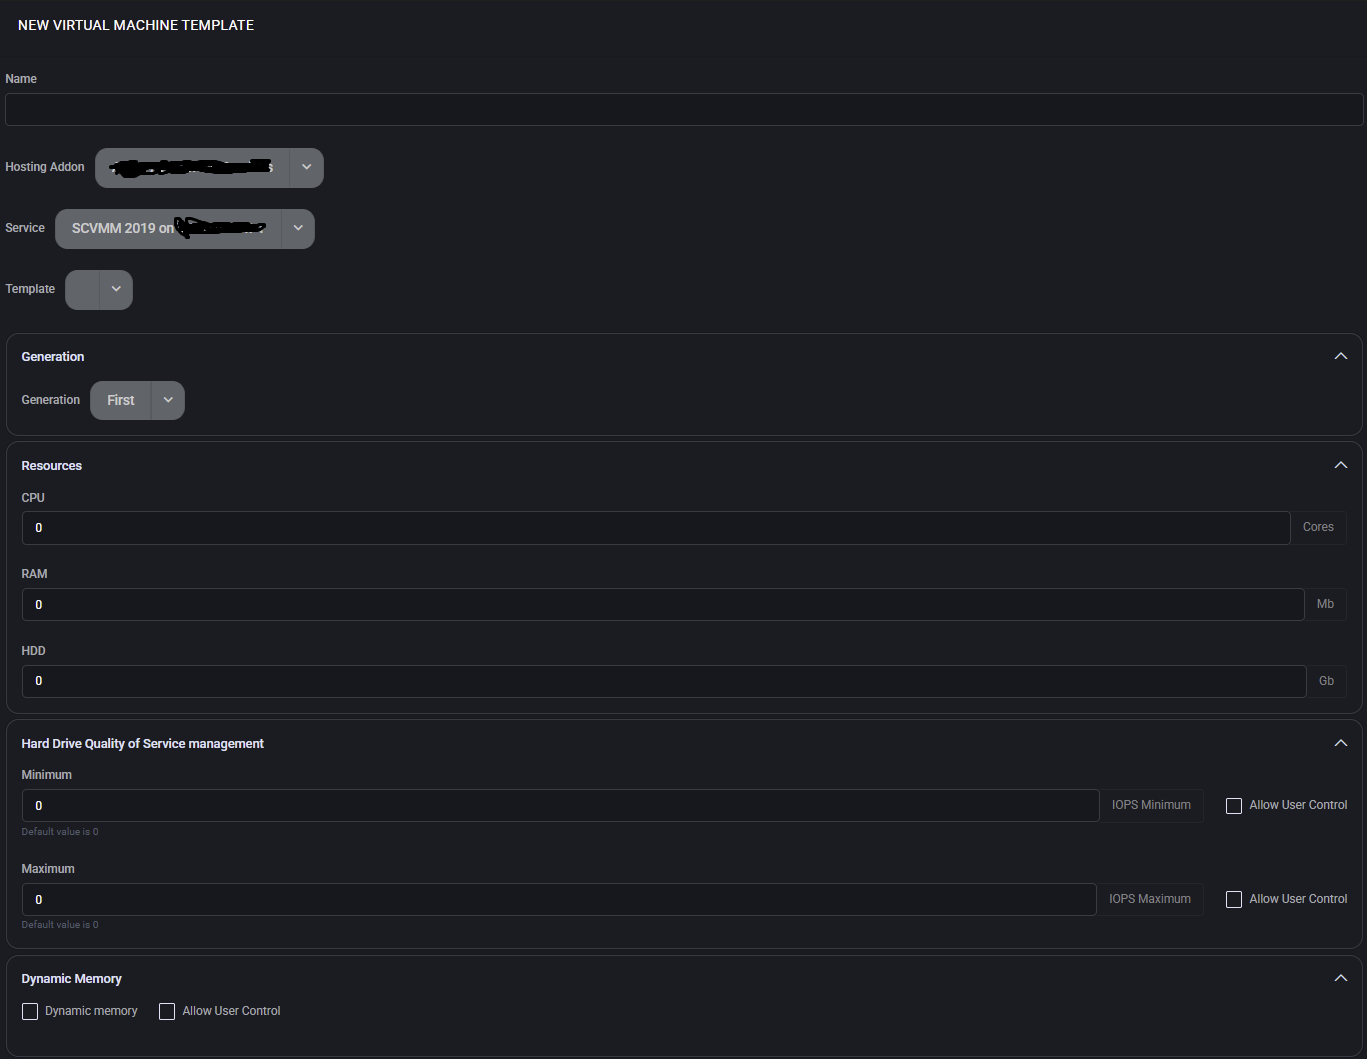
Creating a New VM Template
To add a new template:
- Click the Add VM Template button.
- Fill in the required fields:
- Name: Provide a unique identifier (e.g.,
WinServer2022-Template).
- Operating System: Select from pre-configured OS images or upload a new image.
- Disk Size: Specify the desired disk allocation (e.g., 100 GB).
- Select the Service to define the Hyper-V node where the VM Template will be hosted. This is typically a Hyper-V server registered in MSPControl’s Servers section.
- Assign the appropriate Hosting Add-On to define the resource pool, licensing, or cost-related aspects of the VM Template. Hosting Add-Ons are configured in the Add-Ons module and connect with your overall service plans.
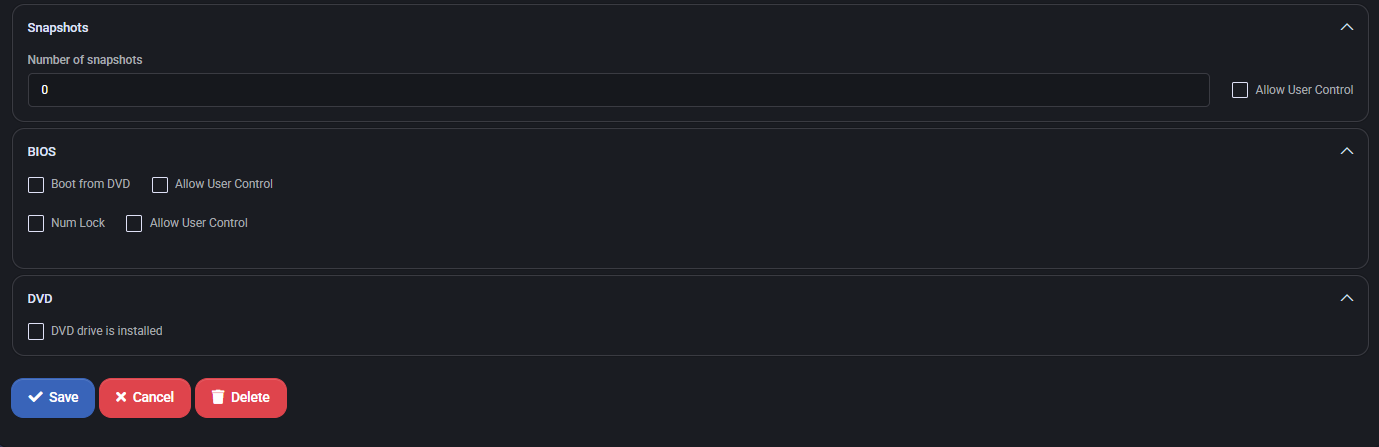
- Optional: Configure advanced settings (e.g., CPU, RAM) by selecting Template Settings.
- Click Save Changes to save the template or Cancel to discard changes.
Using VM Templates for Deployments
VM Templates integrate tightly with other MSPControl modules, including:
- Hyper-V: Use templates to quickly deploy VMs on your Hyper-V clusters with consistent configurations.
- Remote Desktop Services (RDS): Provision RDS session hosts using standardized templates to ensure security and performance consistency.
- RMM Module: Monitor, patch, and manage VMs created from templates with integrated remote management capabilities.
To deploy a VM from a template, navigate to Virtual Machines > Create New VM and select the desired template. This pre-fills configuration details and reduces manual input, enforcing consistency across your deployments.
Managing Existing Templates
To edit or update an existing template:
- Click on the template name in the VM Templates list.
- Modify fields such as name, OS, disk size, Service, or Add-On as needed.
- Click Save Changes to apply updates. Use Deactivate to temporarily disable the template without deleting it.
Deleting a template is possible via the Actions menu, but ensure no active deployments rely on the template before removal.
Best Practices
- Use consistent naming conventions for templates that reflect deployment roles (e.g.,
HyperV-Prod, RDS-Template).
- Regularly update templates to include the latest OS patches and configuration best practices.
- Assign appropriate Services and Add-Ons to match your infrastructure, licensing, and billing requirements.
- Use Microsoft’s Azure VM documentation for additional guidance on VM image management and best practices.
- Coordinate with Hyper-V and RDS modules to ensure seamless deployments and manageability.
MSPControl: Empowering administrators to create, manage, and deploy VMs efficiently—integrating with RMM, Hyper-V, and RDS modules for comprehensive management of your virtual infrastructure.
