How to Add a Managed Server to MSPControl
This guide provides step-by-step instructions for adding a managed server to MSPControl. It assumes MSPControl is already installed on your main control server, and you are adding a remote server for delegated service management. The managed server may host services like IIS, FTP, Active Directory, Hosted Exchange, DNS, File Server, and more.
Prerequisites
- On the Managed Server:
- Ensure all requirements are met as outlined in the MSPControl Prerequisites Guide.
- Allow remote access (e.g., RDP).
- Configure Windows Firewall to allow communication with MSPControl components.
- Main Control Server:
- Ensure the Portal and Enterprise Server are up and running.
- Credentials & Network:
- Admin credentials for the managed server.
- Ensure network communication between both servers.
Step 1: Run the MSPControl Installer
Verify Prerequisites
Ensure prerequisites are fulfilled and that you’re using the same version of the MSPControl installer as on the main server.
Download and Launch
- Download the installer from the MSPControl Download Page.
- Run the executable on the managed server.
Fresh Installation Screens
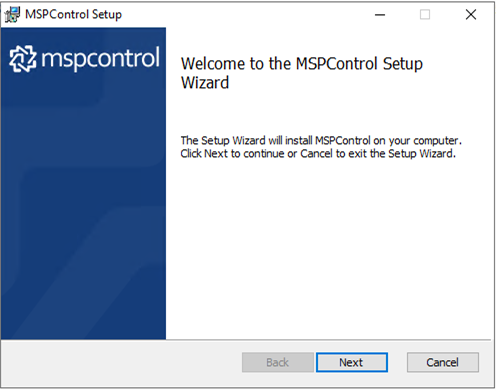
- Welcome Screen: Click Next.
How to Add a Managed Server
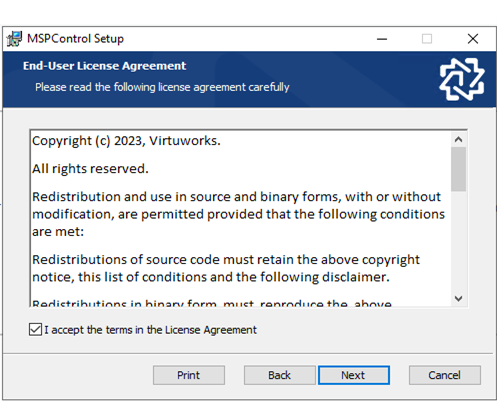
- License Agreement: Accept the terms and click Next.
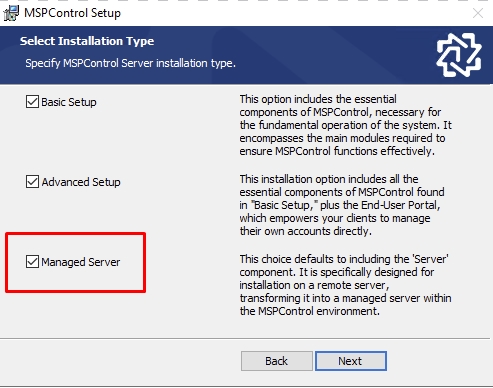
- Installation Type: Select Managed Server and click Next.
Existing Components Detected
- Select Change when prompted with Modify/Repair options.
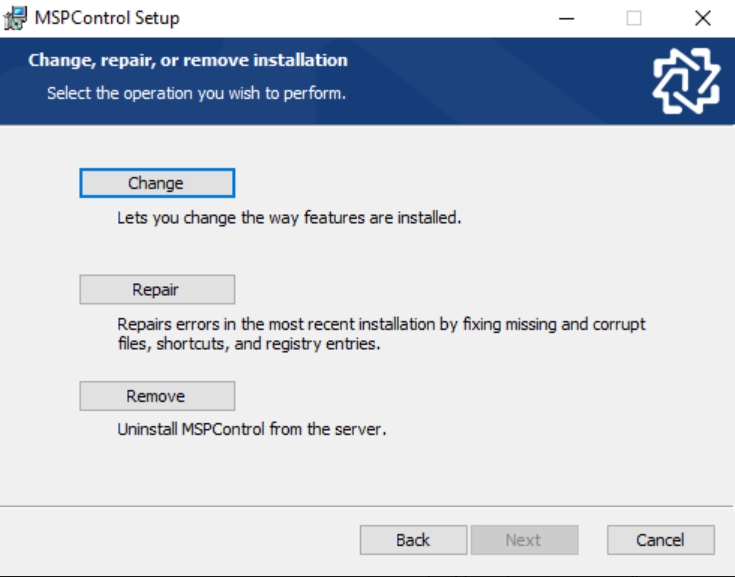
- Choose Managed Server again to continue setup.
Step 2: Feature and Component Selection
- On the Custom Setup screen:
- Ensure Server is selected (auto-selected if fresh install).
- Adjust other components (e.g., Portal, Scheduler) as needed.
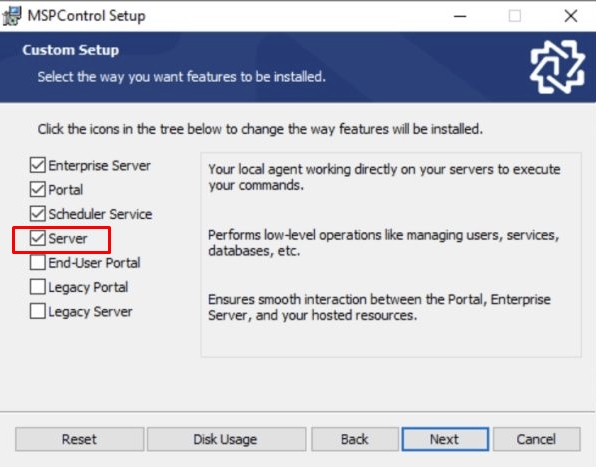
- Click Next.
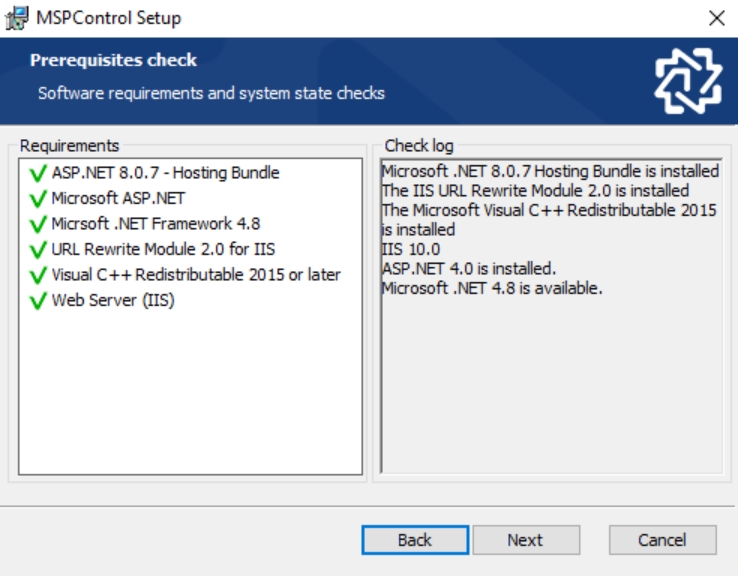
Prerequisite Check
- The installer checks for .NET, IIS, URL Rewrite, and other dependencies.
- Resolve missing prerequisites, then click Next.
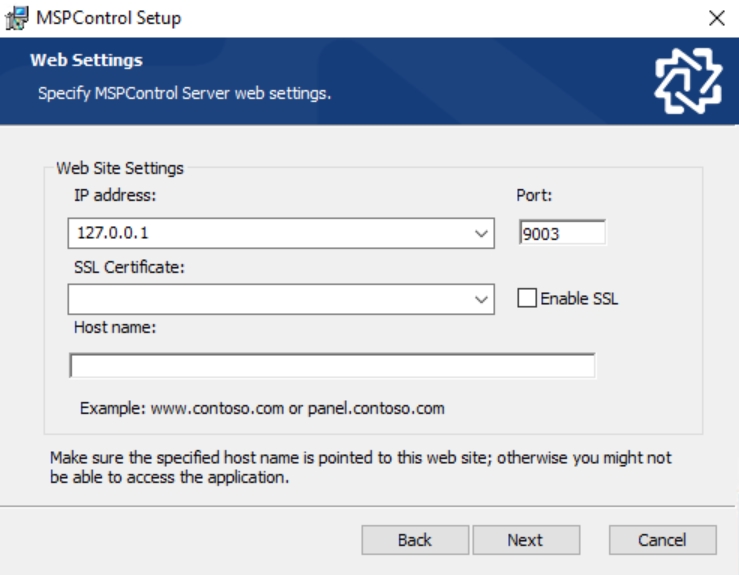
Web Settings
- Configure component binding:
- IP Address (or leave as default)
- Port (default: 9003)
- SSL Certificate (optional)
- Host Name (e.g.,
panel.contoso.com)
- Click Next.
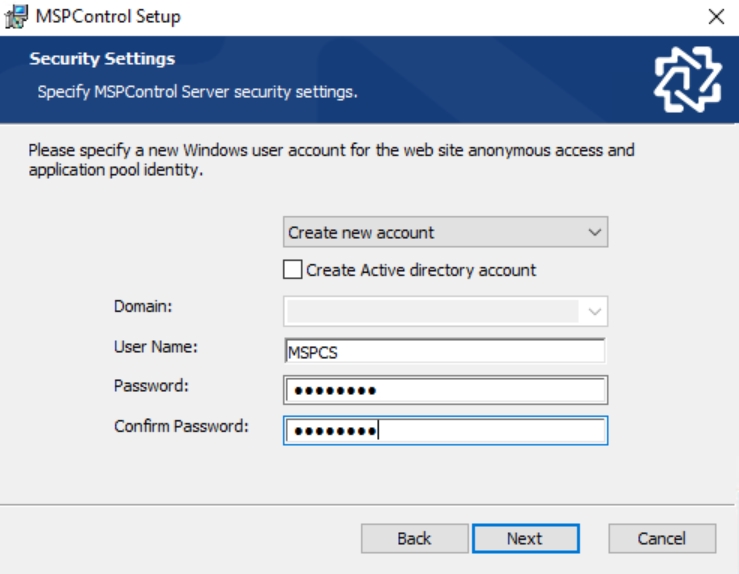
Security Settings
- Choose identity method:
- Create New Account or
- Use Existing Account
- Optional: Enable Active Directory integration.
- Click Next.
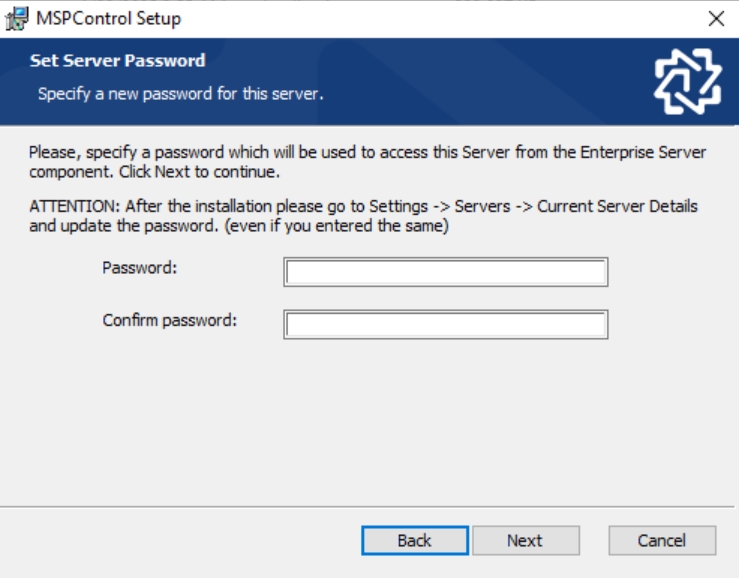
Set Server Password
- Enter a secure password. This is required for the portal to connect.
- Confirm the password and click Next.
Finalize Installation
- Click Install or Change (depending on setup type).
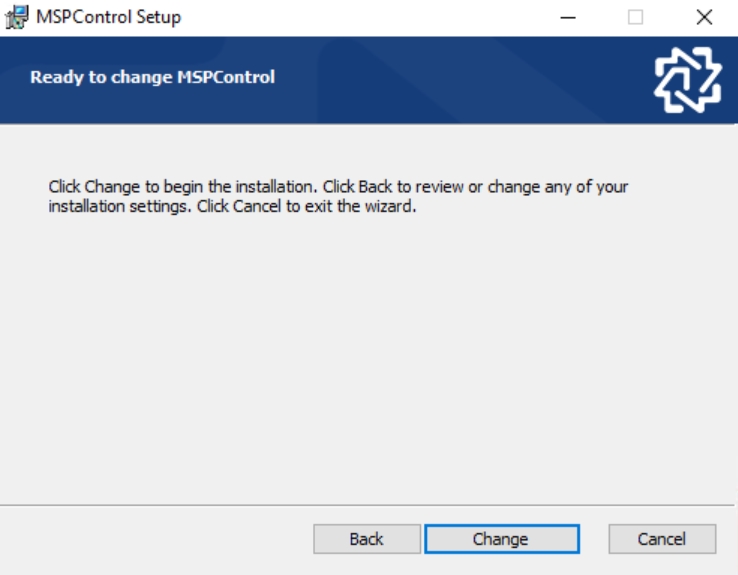
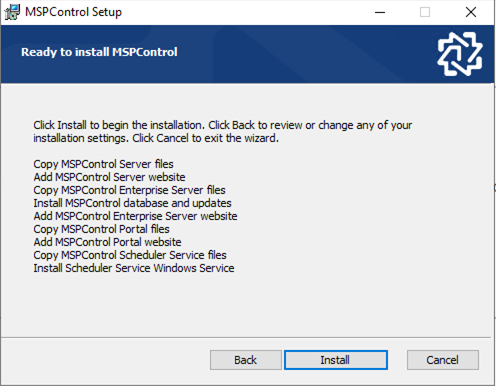
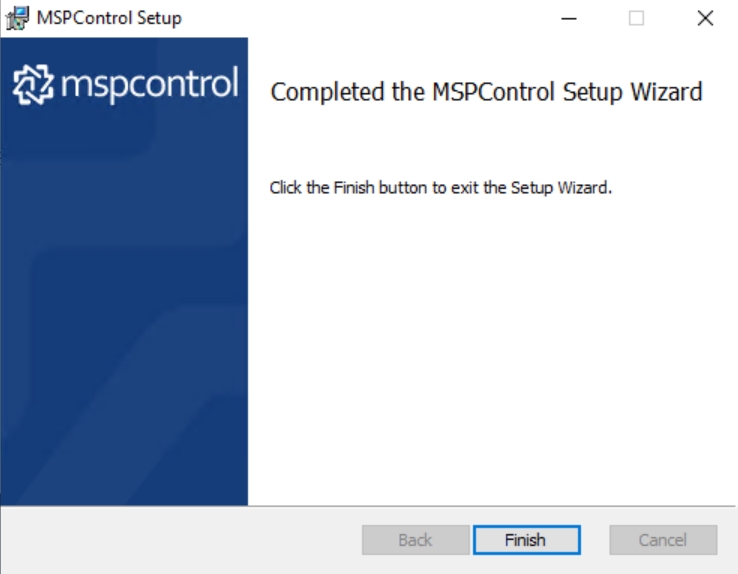
- Wait for the setup to complete. Then click Finish.
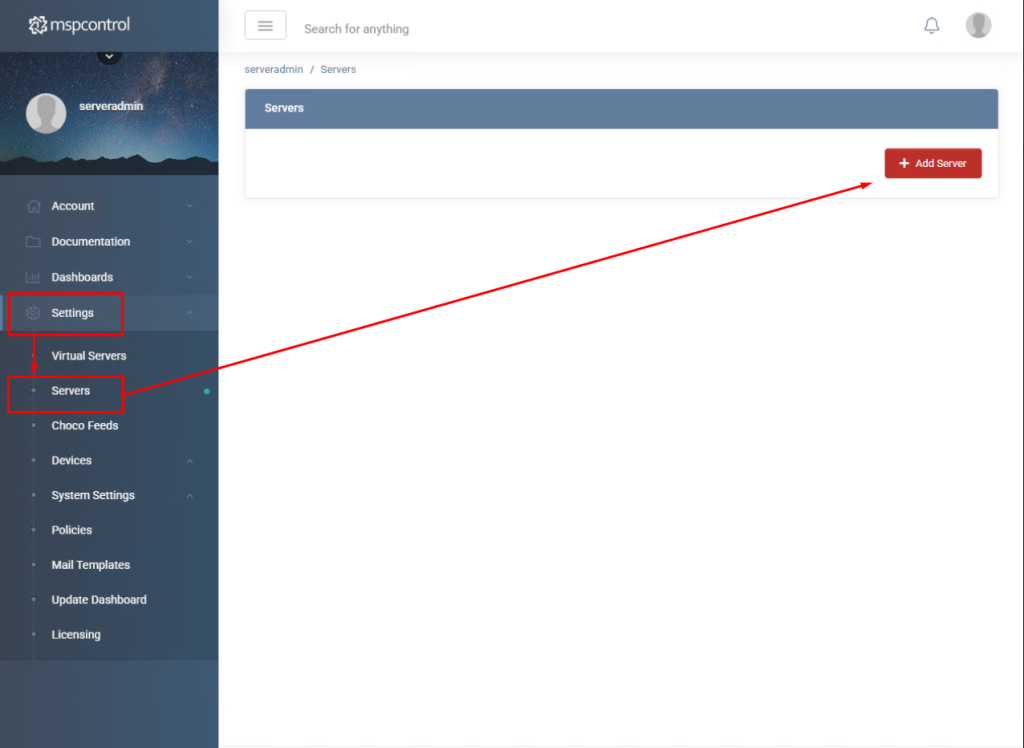
Step 3: Register the Managed Server in MSPControl
- Log in to MSPControl Portal as Administrator.
- Go to Settings > Servers.
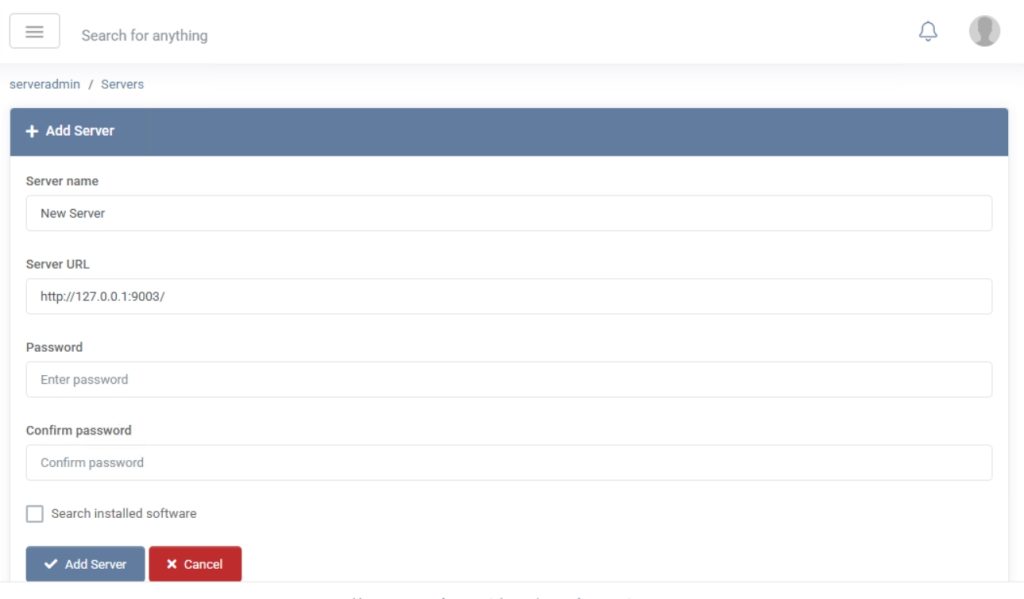
- Click Add Server.
- Complete the following fields:
- Server Name
- Server URL (e.g.,
http://127.0.0.1:9003/)
- Password (same as you set during install)
- Confirm Password
- Click Add Server.
The managed server is now integrated and ready for role assignment and resource provisioning within MSPControl.
