Deployment Guide
This guide explains how to install MSPControl using the official Windows Installer. It walks through each stage—from downloading the installer to completing configuration and launching the application.
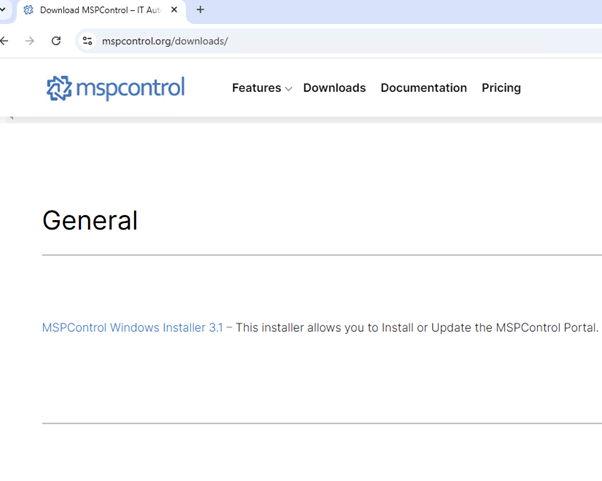
1. Downloading the Installer
- Visit the MSPControl Downloads page.
- Select MSPControl Windows Installer 3.1 to begin downloading.
- Note: File size may vary. Ensure you have adequate disk space.
Deployment Guide
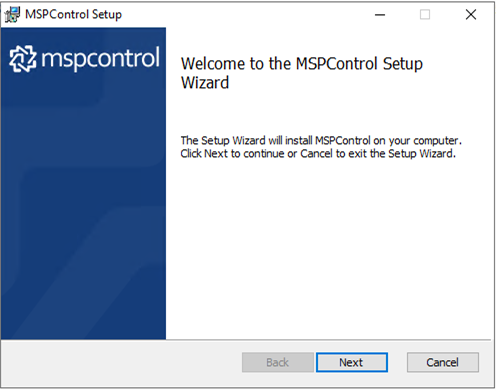
2. Launching the Installer
- Double-click the downloaded file MSPControlSetup-3.X.X.exe to launch the setup wizard.
- The welcome screen will appear.
- Action: Click Next to proceed.
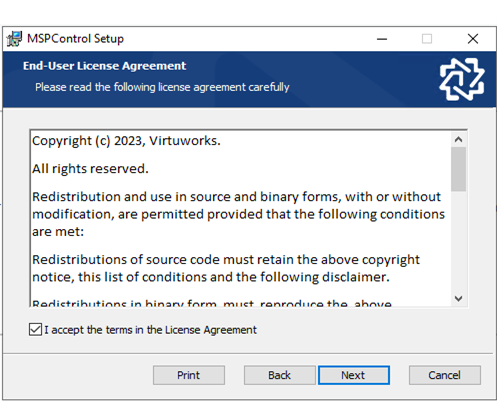
3. Accepting the License Agreement
- Review the license agreement.
- To proceed:
- Check \”I accept the terms in the License Agreement.\”
- Click Next.
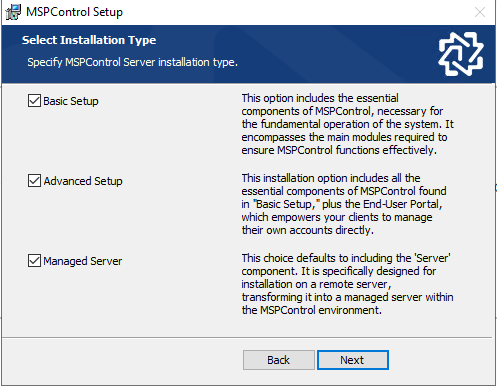
4. Selecting Installation Type
Choose from the following setup types:
- Basic Setup: Core MSPControl components. Suitable for quick deployment.
- Advanced Setup: Includes End-User Portal. Ideal for multi-user environments.
- Managed Server: Use this to connect a remote server to MSPControl.
- Action: Choose your setup type and click Next.
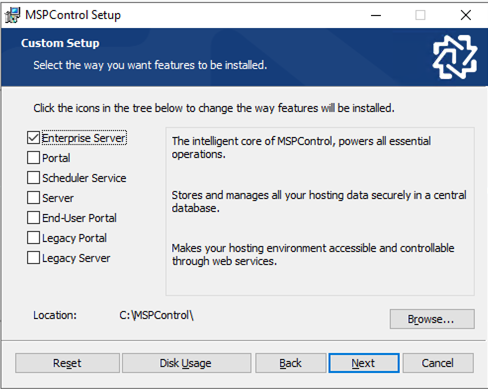
5. Customizing Installation Components
Select which components to install:
- Enterprise Server: Central backend logic and data layer.
- Portal: Web UI for service management.
- Scheduler Service: Background automation and task scheduling.
- Server: Executes low-level server operations.
- End-User Portal: Self-service portal for hosted users.
- Legacy Portal: Compatibility mode for older systems.
Action: Choose required components and click Next.
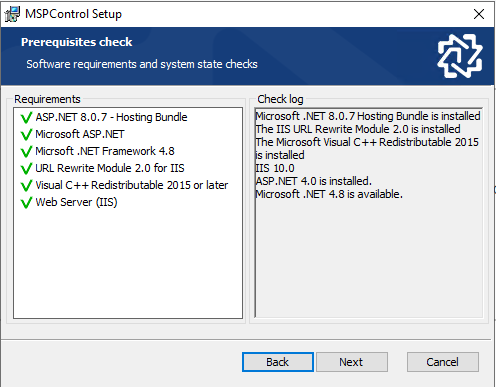
6. Prerequisites Check
The installer checks for required components before continuing. These include:
- ASP.NET 8.0.7 Hosting Bundle
- Microsoft ASP.NET
- Microsoft .NET Framework 4.8
- URL Rewrite Module 2.0
- Visual C++ Redistributable 2015 or later
- IIS Web Server
Action: Install missing prerequisites and restart setup if needed.
7. Configuration for Components
Web Settings
Define common web service settings for each component (except Scheduler Service).
Security Settings
Choose authentication method for application pools:
- Create New Account: A new Windows account is created.
- Choose Existing Account: Use an existing account.
- Tip: For Active Directory integration, select \”Create Active Directory Account.\”

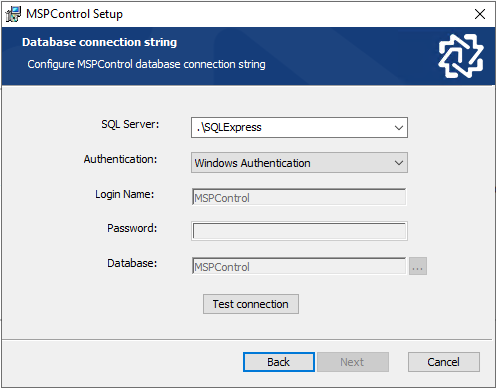
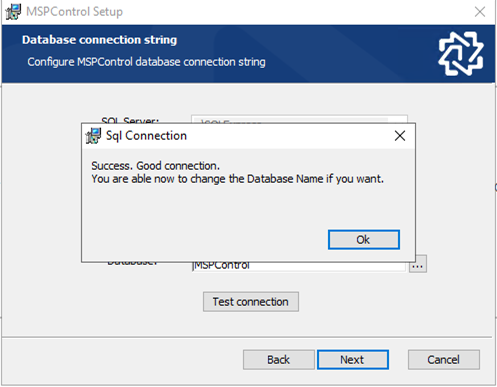
8. Enterprise Server and MS SQL Configuration
Configure your database connection:
- Set SQL Encryption: Enter a secure recovery password.

- Configure Database Connection:
- Enter Server Name, Auth Type, Login Name, Password, and DB Name.
- Test the connection before continuing.
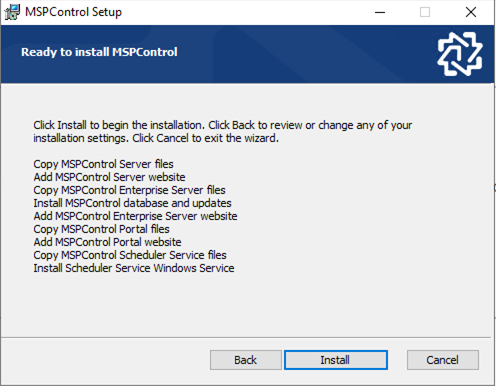
9. Ready to Install
The setup wizard summarizes selected actions:
- Copying MSPControl Server files
- Adding Server websites
- Installing Scheduler Service
Action: Click Install to proceed.
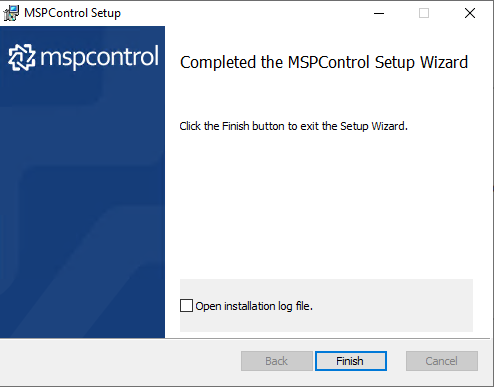
10. Completing the Installation
- Optionally check \”Open installation log file\”.
- Click Finish to exit the installer.
MSPControl is now installed. You can continue with configuration and initial setup.